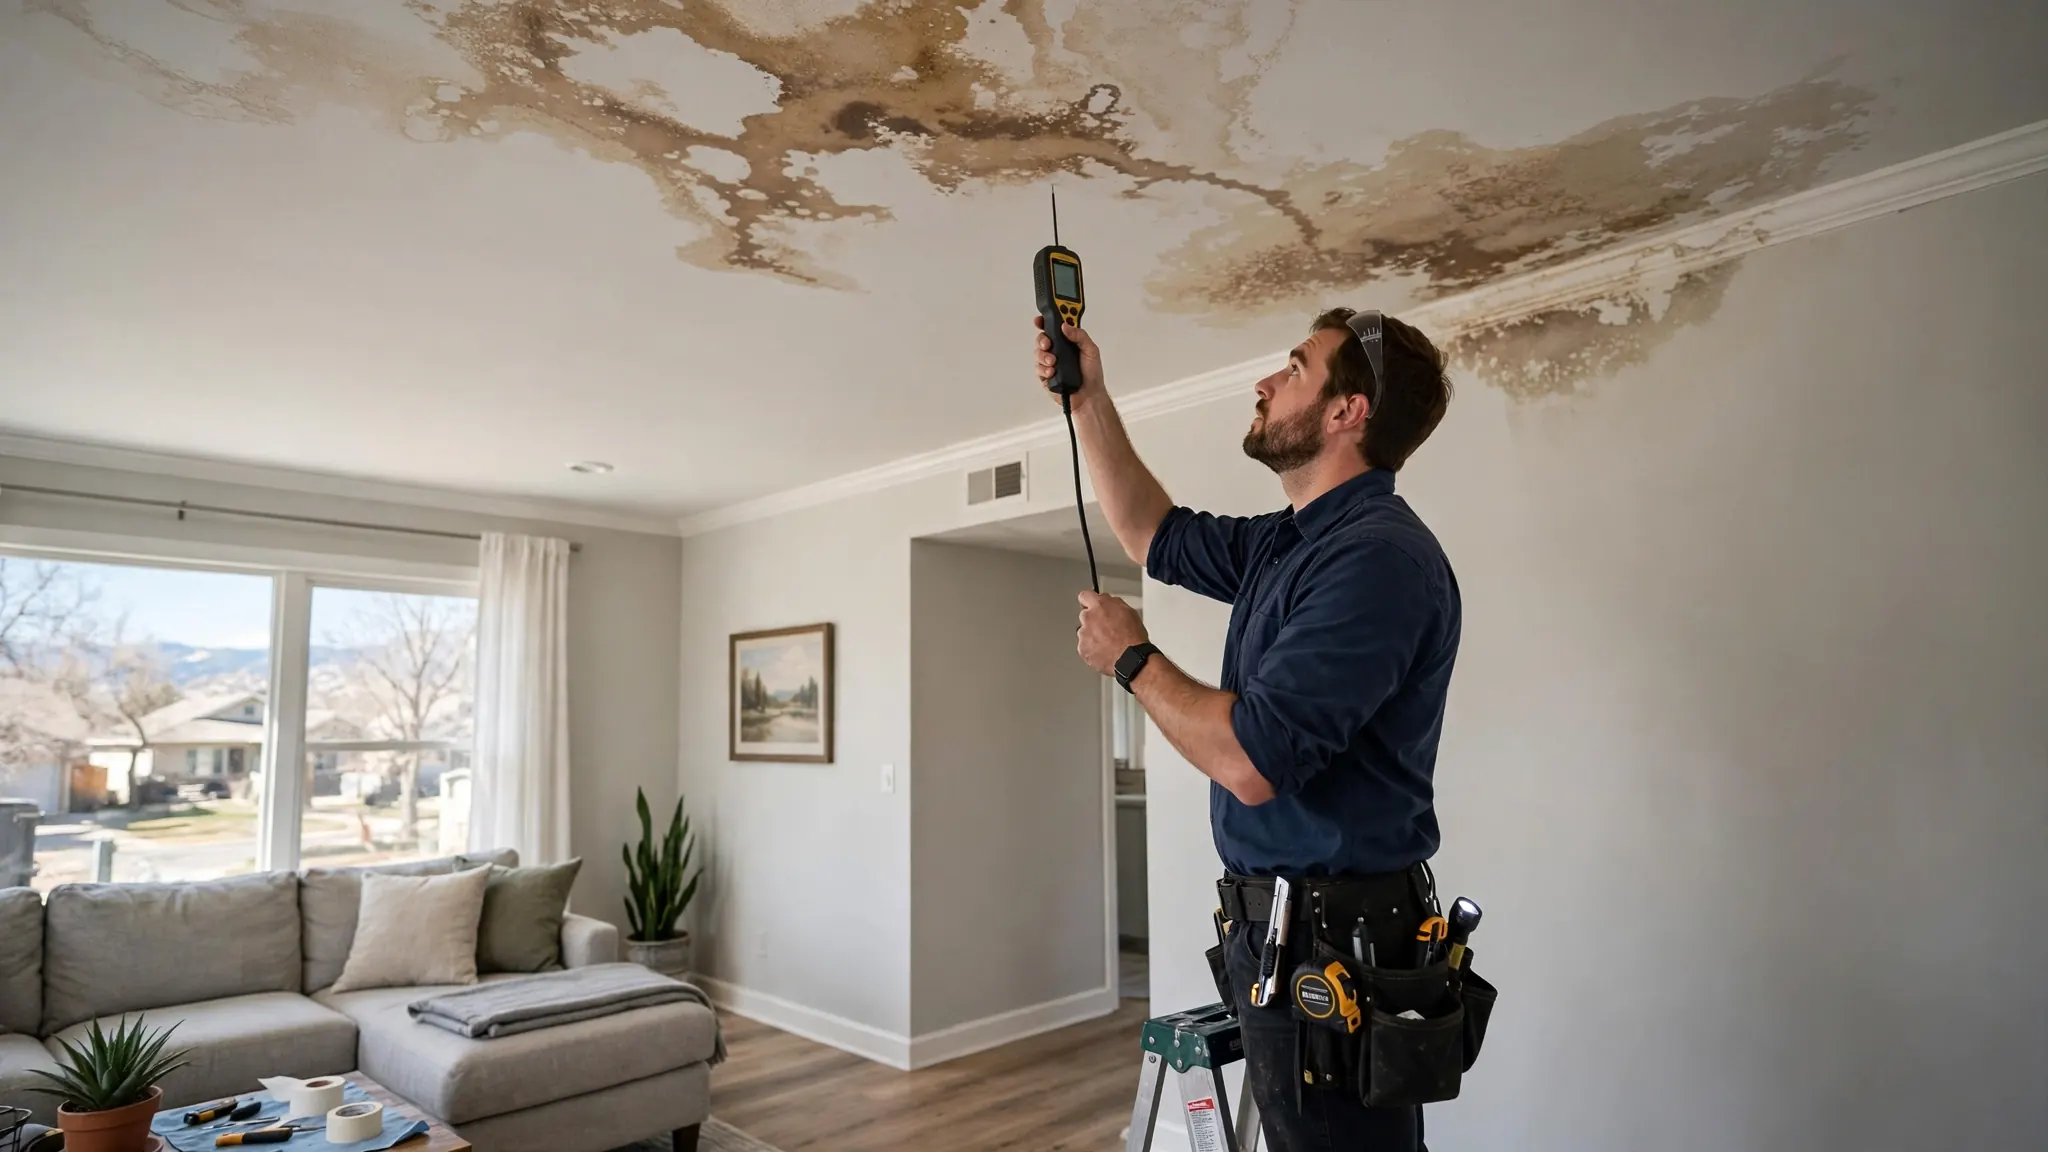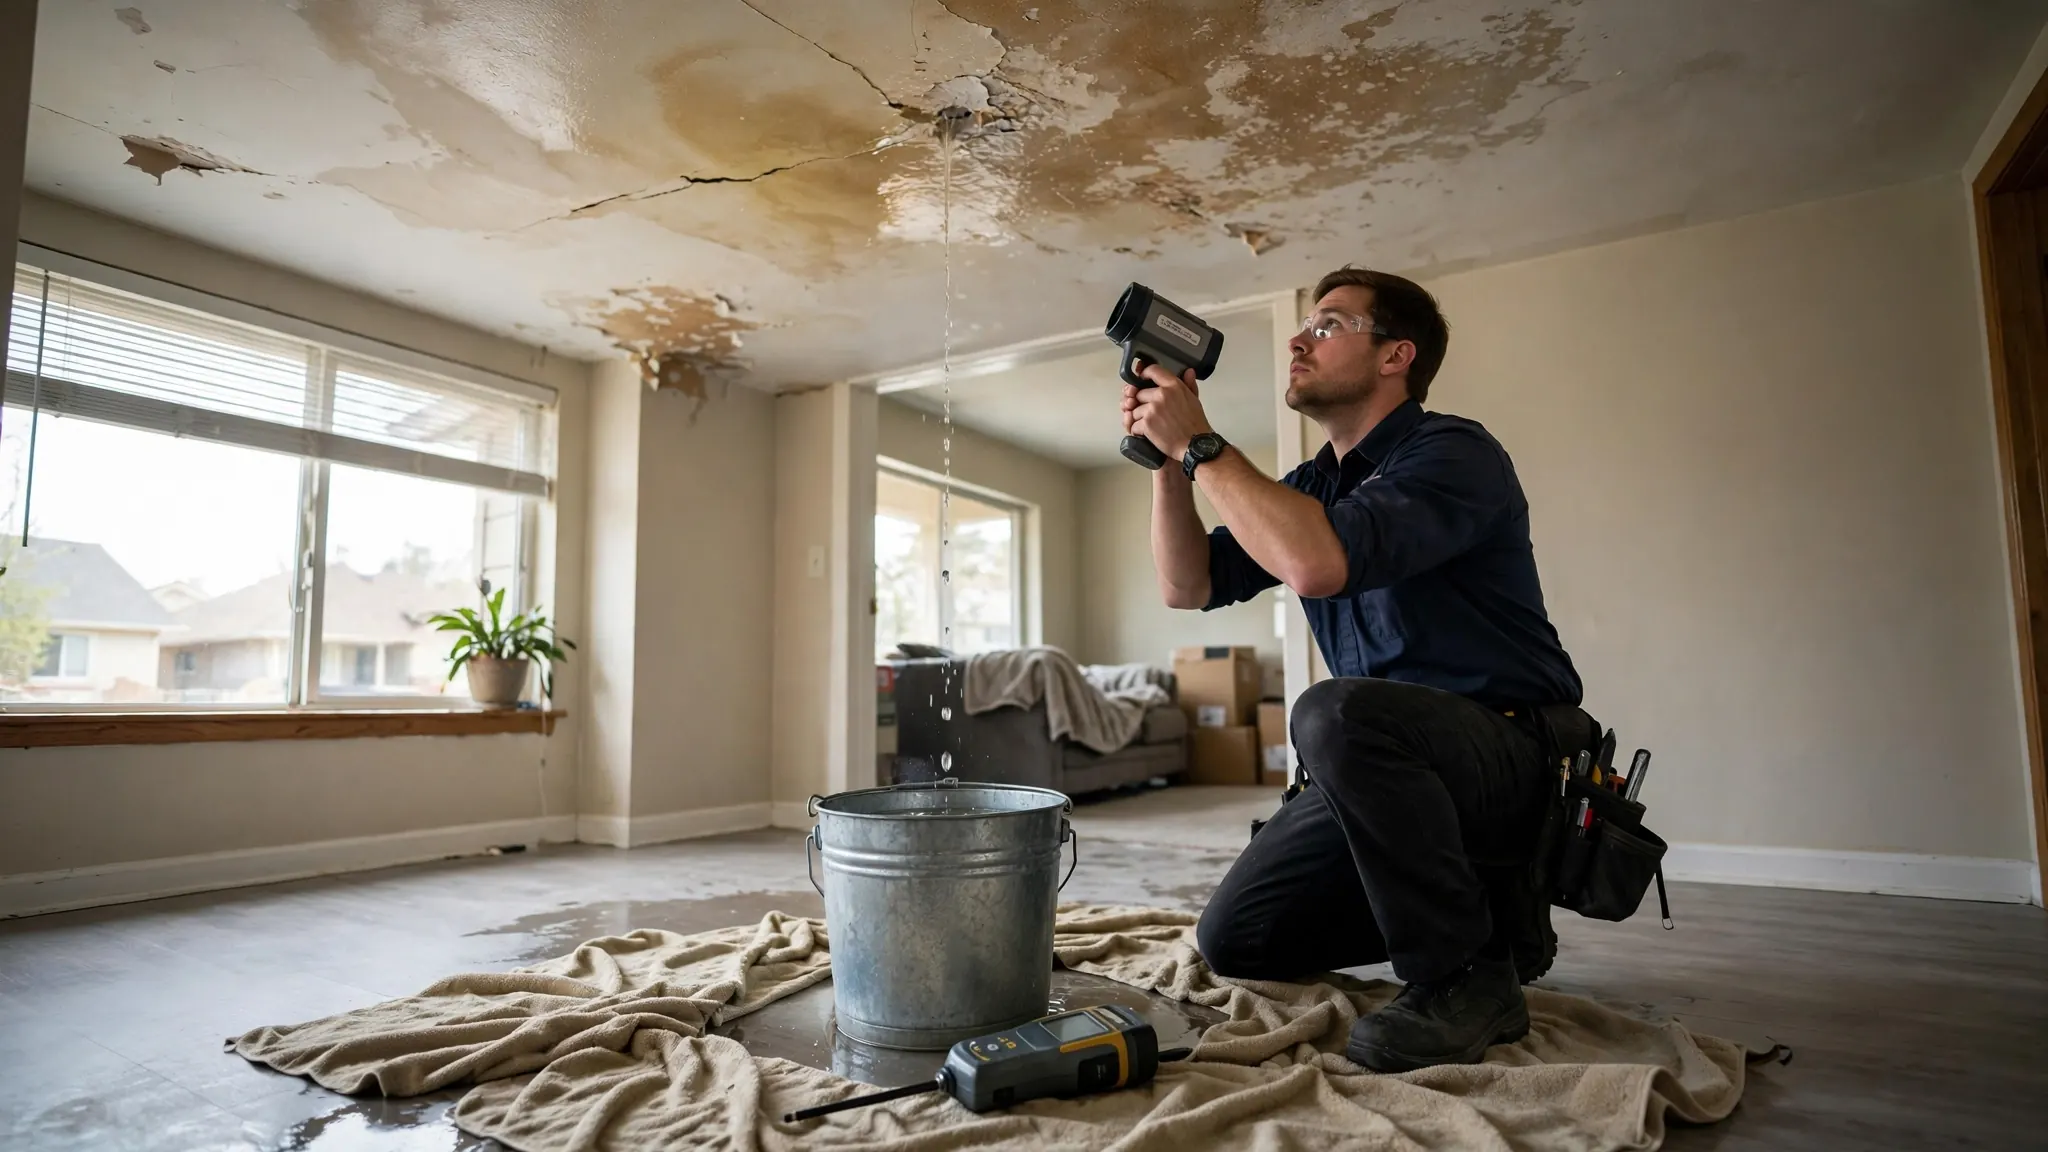
A wet spot on the ceiling, a drip, a bulge in the paint — however it appears, water coming through a ceiling means water is traveling where it should not, and every hour adds damage. The good news: the first steps are simple, safe, and effective at limiting harm while you arrange professional help. The most important early question is where the water comes from, because a ceiling leak from plumbing and a roof leak get very different responses. This guide walks through exactly what to do, in order.
The First Ten Minutes
- Contain the water: place buckets, pots, or tubs under the drip, and lay towels around them for splashes.
- Protect what is below: move furniture, electronics, and valuables out from under the leak.
- Relieve a bulging ceiling: if paint or drywall is ballooning with trapped water, puncture the lowest point of the bulge with a screwdriver to let it drain into your bucket — controlled release prevents a sudden collapse.
- Turn off electricity to the affected area at the breaker if water is near light fixtures, fans, or wiring.
- Stop the source if you can do so safely: shut off the nearest fixture valve, or the main water valve if the leak is clearly plumbing.
- Take photos and video of everything — the leak, the damage, the water path — for your records and any insurance claim.
- Call for professional help: a leak detection visit finds the source so repair can start.
The bulge-puncture step surprises people, but it is standard advice. A ceiling holding trapped water gets heavier by the minute, and a controlled drain into a bucket is far better than a section of saturated drywall giving way on its own. Use a small hole at the lowest point of the bulge and keep the bucket underneath.
What Not To Do
Do not ignore it until morning — active leaks do not pause overnight, and the damage compounds. Do not poke around inside the ceiling cavity without knowing what is up there; you can disturb wiring, insulation, or asbestos-containing materials in older homes. Do not keep running water fixtures above the leak 'to test it' — you already know it leaks. And do not paint over the stain as a fix; the stain is the symptom, and sealing it in hides the evidence a professional needs.
Water near ceiling light fixtures, fans, or smoke detectors is an electrical hazard. Turn off the breaker serving that area before touching anything damp, and do not restore power until the area is dry and the source is fixed. When in doubt, keep the breaker off and call for help.
Plumbing Leak Or Roof Leak
This distinction drives everything that follows. Plumbing leaks flow when water runs — the drip worsens when someone showers, flushes, or runs the dishwasher above. Roof leaks follow weather — they appear during or after rain and stop in dry spells. A stain that grows after rain but never when it is dry points to the roof; a drip tied to fixture use points to plumbing.
| Clue | Plumbing Leak | Roof Leak |
|---|---|---|
| Timing | Tied to water use upstairs | Tied to rain and snowmelt |
| Water | Usually clear and clean | May carry dirt or debris |
| Location | Below bathrooms, kitchens, laundry | Below roof valleys, flashing, penetrations |
| Pattern | Steady while fixtures run | Starts and stops with weather |
| Who fixes it | Leak detection then plumbing repair | Roofing contractor |
Mixed cases exist — a stain that appeared after rain but persists could be roof water still traveling, or a plumbing leak you only noticed because you were looking. Our article on ceiling stains after rain vs plumbing digs deeper into the ambiguous cases. When the pattern is unclear, professional detection resolves it: acoustic and thermal methods find active plumbing water, and their absence points toward the roof.
Tracing The Source Yourself
You can narrow the source before anyone arrives. Go to the floor above the leak and look at what sits directly overhead — a bathroom, a kitchen, a laundry room, or nothing but attic. Run each nearby fixture one at a time and watch the leak: if the drip intensifies minutes after a shower runs, you have found your line. Check under sinks and around toilets above for visible moisture, failed supply lines, or sweating pipes.
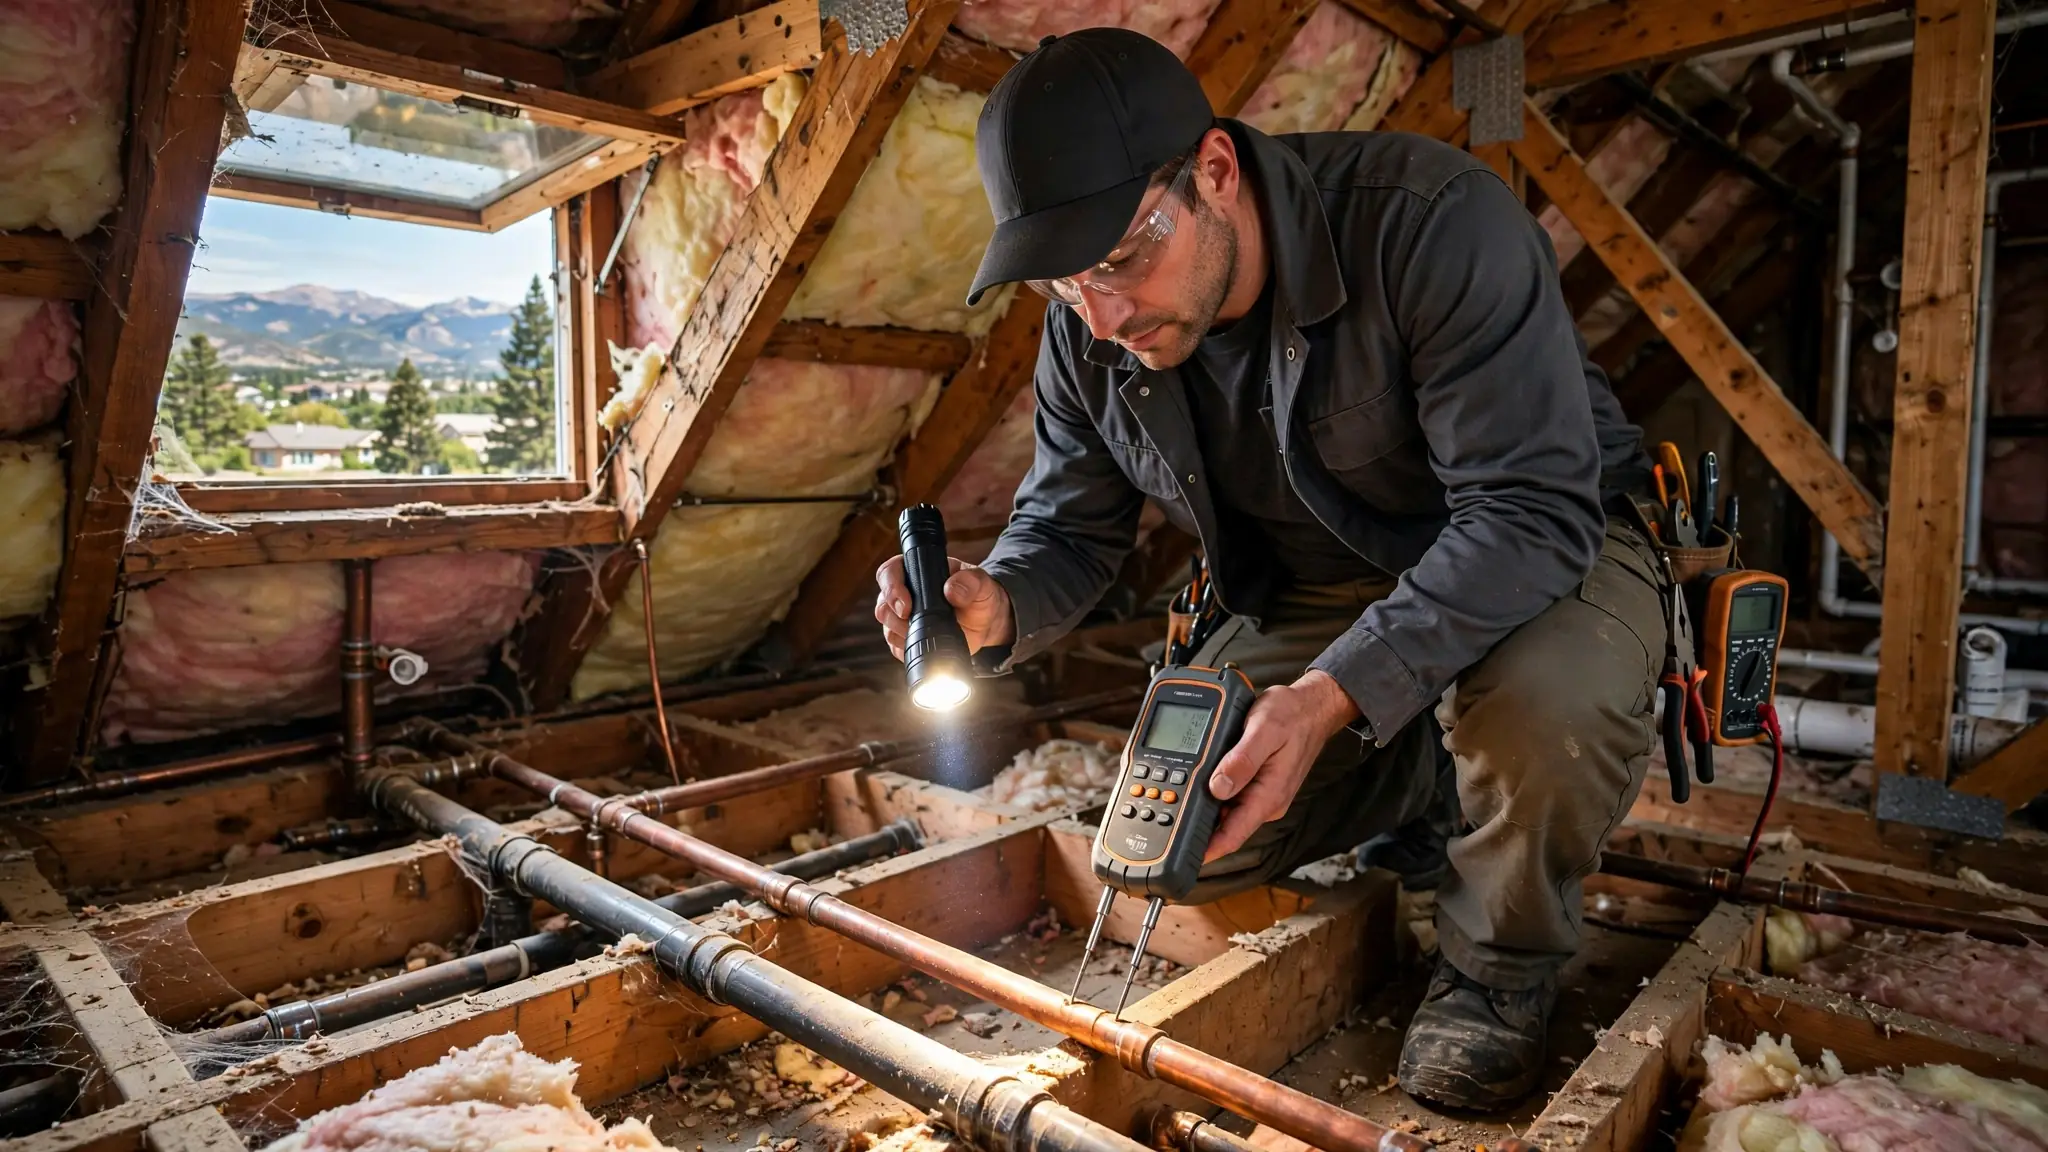
If the space above is an attic, look there with a flashlight — but step only on joists, never on drywall. Look for wet insulation, water tracks on the underside of the roof deck, and daylight showing through where it should not. Wet insulation under a roof penetration suggests roofing; wet insulation under a plumbing vent or near a bathroom suggests plumbing. Note what you find and photograph it — then stop. The diagnosis from here benefits from professional tools.
Protecting Your Home While You Wait
- Keep buckets in place and empty them before they overflow — set a timer if the drip is steady.
- Run a dehumidifier or fan in the room to slow mold-friendly conditions, once electrical safety is confirmed.
- Do not pile wet materials in the room — move soaked towels and fabrics out to dry elsewhere.
- Keep the area ventilated if weather allows; airflow is the enemy of mold growth.
- Avoid the sagging section of ceiling — keep people from standing directly beneath a bulge.
- Document the damage progression with dated photos for insurance purposes.
Mold is the secondary concern that turns a leak into a bigger project. It needs sustained moisture over days, not hours, so prompt drying after the source is stopped usually prevents it. The drying matters as much as the repair — a fixed leak in a still-damp ceiling cavity is an unfinished job.
What A Professional Does Next
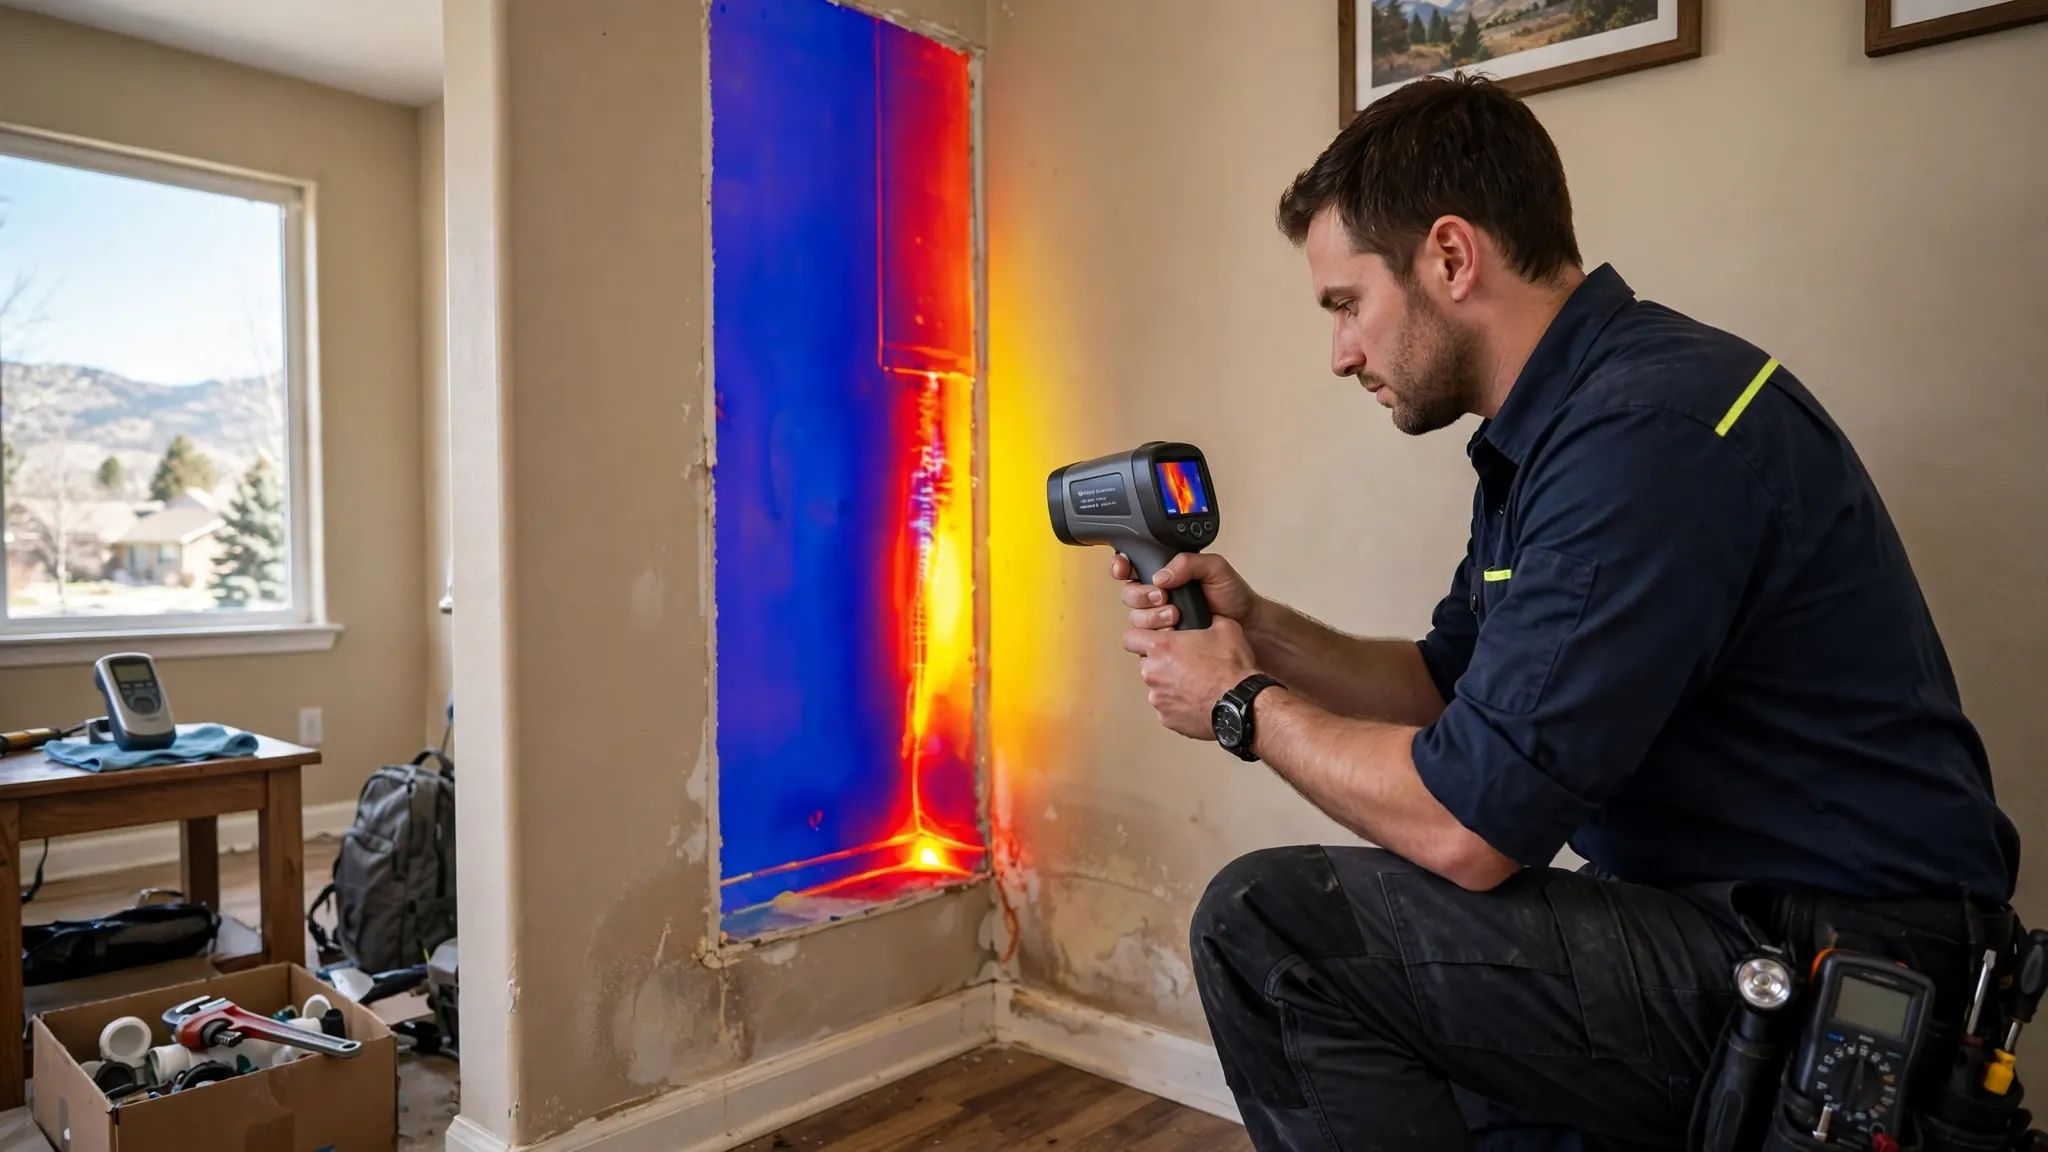
A ceiling leak detection visit starts with your observations — when it drips, what is above, what you have tried — then moves to tools. Thermal imaging scans the ceiling and the floor above for the cool signature of active water, mapping how far it has traveled. Acoustic listening finds pressurized supply-line leaks inside the cavity. Moisture meters confirm which areas are wet and how far the damage extends beyond the visible stain.
The deliverable is a located source: which line, which fitting, which joint failed — marked so the repair opens one precise area instead of exploratory holes across the ceiling. If the evidence points to the roof rather than plumbing, an honest technician says so and points you to a roofer instead of selling detection you do not need. Either way, you get a documented finding that supports both the repair and any insurance claim.
When It Is An Emergency
A ceiling leak becomes urgent when water is pouring rather than dripping, when a large section of ceiling is sagging, when water is near electrical fixtures and you cannot safely kill the power, or when the leak is over critical areas like a nursery or home office with equipment. In those cases, contain what you can, shut off water and power to the area, and call our emergency ceiling leak line — we answer 24/7 and arrive in 30–45 minutes across Broomfield.
For steady drips that are contained and stable, a scheduled visit is fine — but schedule it promptly. Ceiling leaks do not improve with time, and the difference between a one-day fix and a mold remediation project is often just how long the water kept coming.