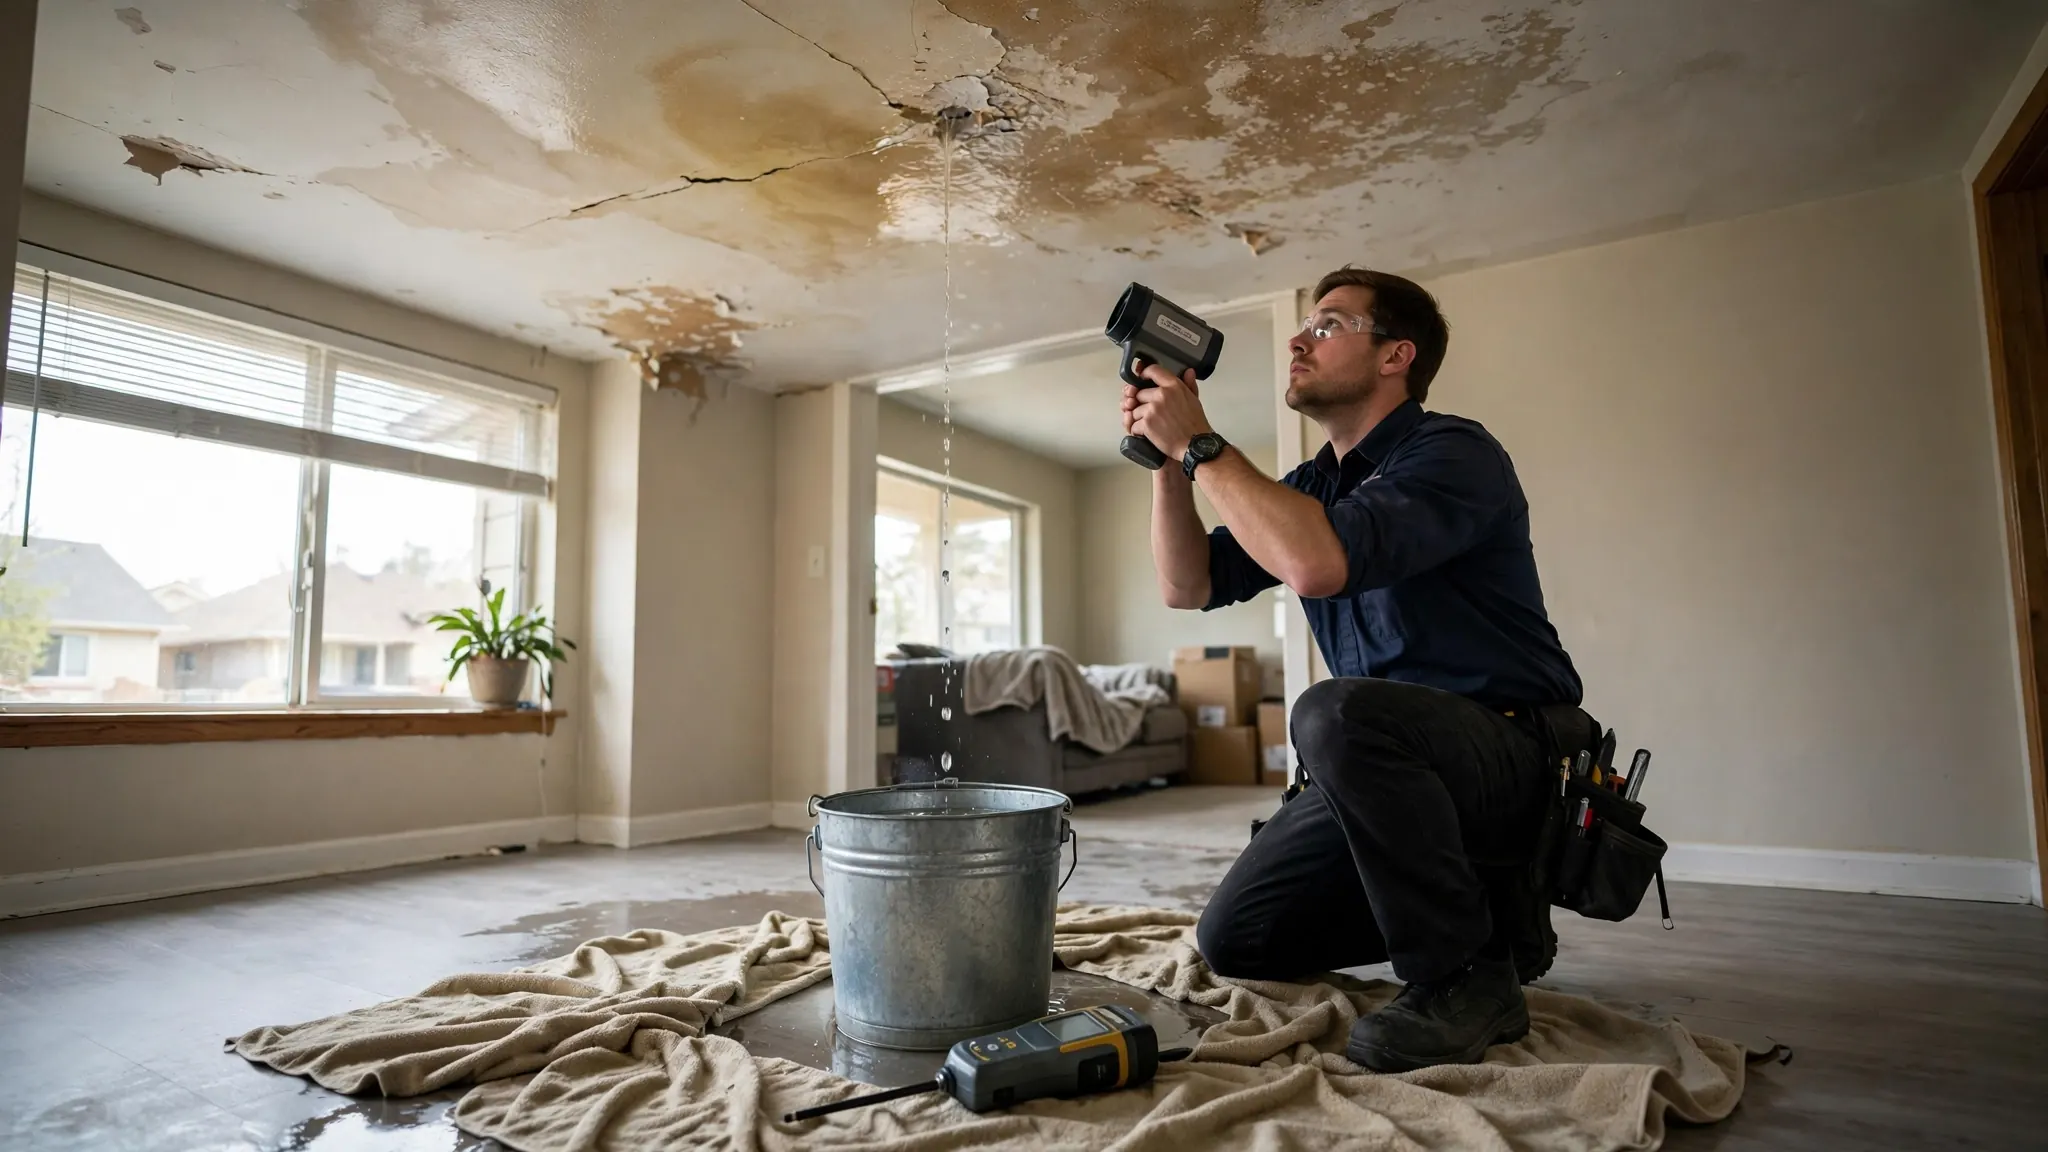
After a leak damages your home, the insurance claim process asks a question you may not be ready to answer: what exactly failed, where, and when? A leak detection report answers it professionally. It documents the source of the water, the methods used to find it, and the extent of the affected area — the facts an adjuster needs to evaluate coverage. Understanding what the report includes before you need one makes the claims process smoother. This guide explains the report from the homeowner's side: what is in it, why insurers want it, and how to prepare.
What A Leak Detection Report Is
A leak detection report is a written professional record of a leak investigation. It states what was investigated, what equipment and methods were used, where the leak source was found, and what areas were affected by water. It is a factual document — not a repair estimate, not a coverage opinion, and not a guarantee of claim approval. Its job is to establish the physical facts: this pipe failed here, water traveled there, these materials are wet.
Think of it as the difference between telling your insurer 'we had a leak' and showing them documented evidence of the source, the path, and the extent. Adjusters work from documentation. A clear report with photos, readings, and a marked location gives them what they need to process the claim; a vague description slows everything down.
Why Insurers Ask For One
Insurers need to determine two things: what caused the damage and whether the cause is covered. A sudden pipe burst is typically treated differently from a slow leak that ran for months, and a plumbing failure differently from groundwater seepage or maintenance neglect. The detection report provides the technical basis for that determination — it distinguishes a sudden failure from a long-term condition with evidence rather than assertion.
- Establishes the source of water — plumbing failure vs weather vs groundwater vs appliance
- Documents whether the failure appears sudden or long-standing
- Maps the extent of water-affected areas for the damage assessment
- Provides dated, professional evidence rather than homeowner description alone
- Supports the timeline of discovery, which matters for prompt-reporting requirements
This is also why the report must be factual and independent. An insurer gives weight to a report that documents findings with measurements and photos. Exaggeration or speculation in a report undermines the claim it is meant to support — which is why reputable detection companies report what they found and nothing more.
What The Report Includes
A thorough report follows a consistent structure so nothing important is missing:
- Property and visit details: address, date of inspection, and who requested it.
- Reported symptoms: what the homeowner observed — when the water appeared, where, and under what conditions.
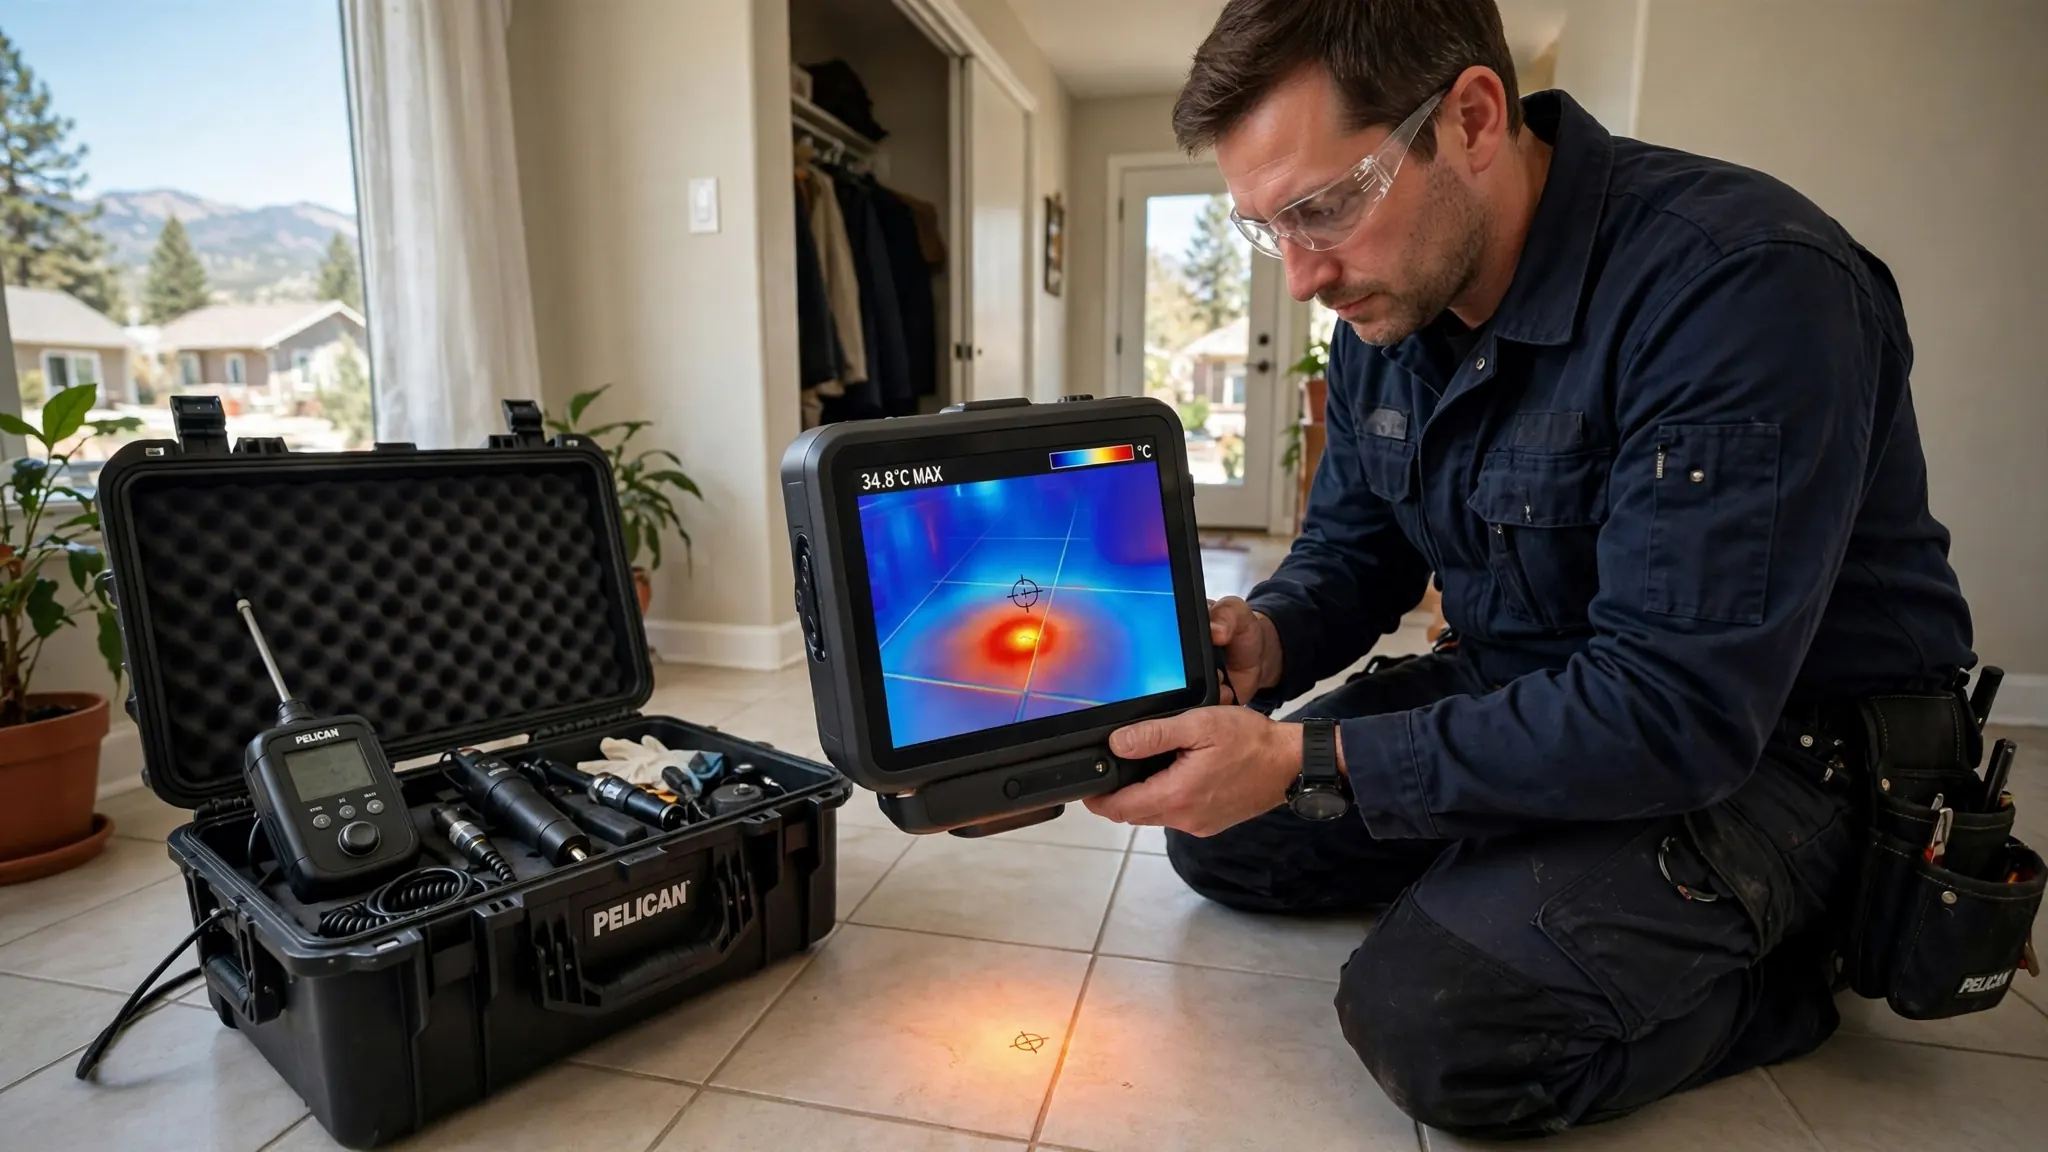
- Methods used: which detection equipment and techniques were applied — acoustic listening, thermal imaging, moisture metering, pressure testing — and where.
- Findings: the located leak source described precisely — which line, which fitting or section, and its position, often with a marked photo or diagram.
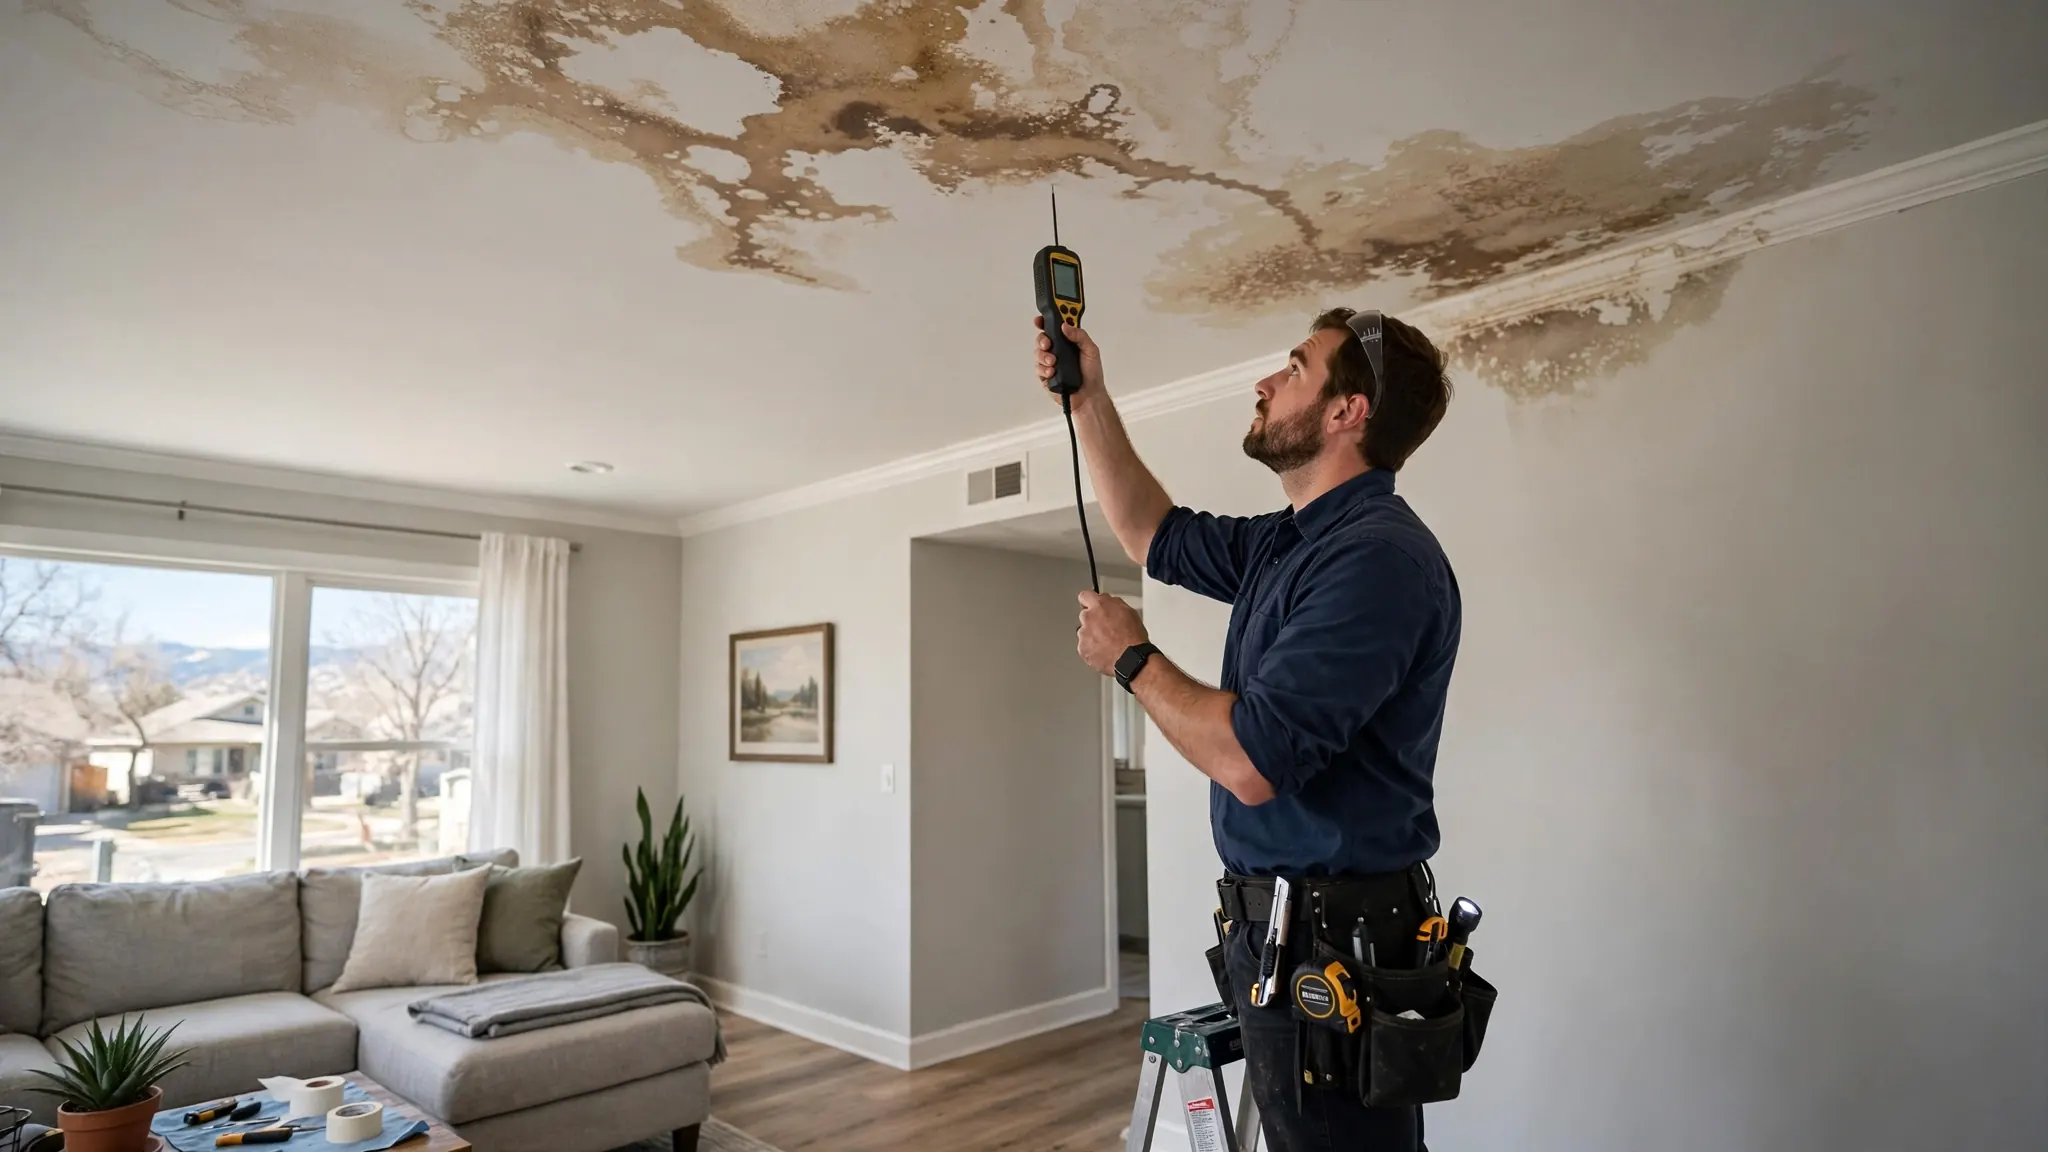
- Affected areas: which rooms, cavities, and materials show water impact, with moisture readings where taken.
- Photographic evidence: dated photos of the source area, water paths, stains, and meter or equipment readings.
- Professional opinion on cause and timeline: whether the evidence suggests a sudden failure or a long-term condition, stated carefully as an observation.
- Recommended next steps: repair of the source and drying of affected areas — without coverage opinions.
What you should not expect: a statement that your claim will be approved, a repair cost estimate presented as fact, or opinions about your policy. The report documents the physical situation. Coverage decisions belong to the insurer, and a good report does not try to make them.
How The Inspection Works
The inspection itself is a standard leak detection visit: the technician interviews you about symptoms and timing, then applies the appropriate methods — thermal imaging to map water's path, acoustic listening for pressurized leaks, moisture meters to define the wet area's boundaries. For a slab leak, that means pinpointing the break under the concrete; for a ceiling leak, tracing the water to the failed line above.
If you have not yet documented the incident, our ceiling leak first-steps guide covers what to record. Tell the technician upfront that the visit supports an insurance claim. That changes the documentation emphasis: more photos, more readings recorded, clearer diagrams, and careful notes on the apparent timeline. It does not change the findings — the facts are the facts — but it ensures the report is built claim-ready from the start rather than reconstructed afterward.
Say the detection visit is for an insurance claim when you schedule. The technician will bring the documentation mindset from the first minute — photos of everything, readings logged, timeline notes — instead of treating it as a routine locate.
Reading Your Report
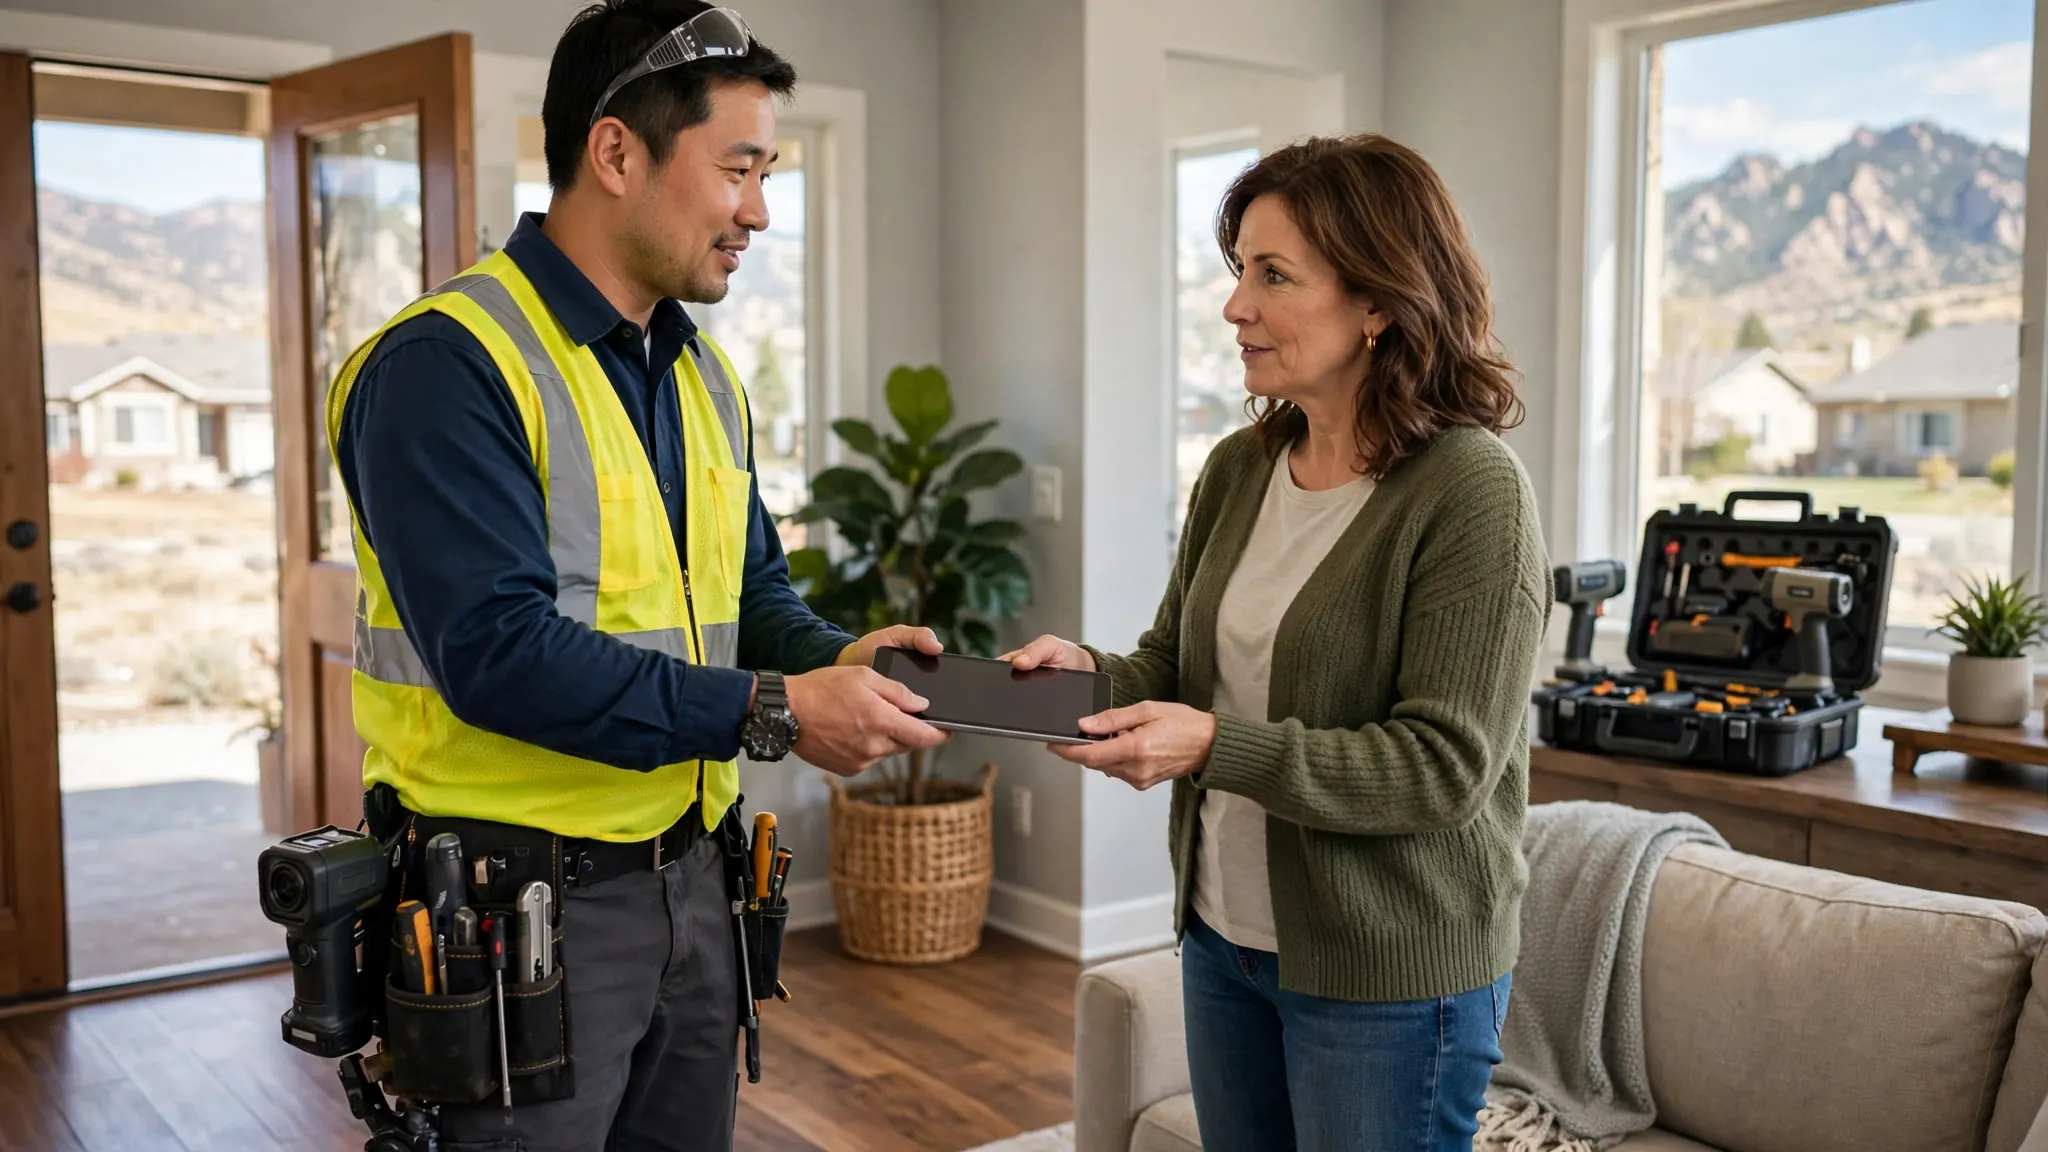
When you receive the report, read it for three things. First, the source description — is it specific enough that a repair contractor can act on it without re-diagnosing? Second, the affected-area mapping — does it cover everywhere you have seen damage? Third, the timeline observations — do they match your own experience of when the problem started? If anything is missing or unclear, ask the detection company to clarify before you submit it. Cross-check the affected areas against your dated photos — a growing ceiling stain photographed over several days makes the timeline concrete.
Keep the original and submit copies. Your report joins your photos, your plumber's repair invoice, and any remediation documentation as the evidence package for the claim. Organized, dated, professional documentation consistently makes claims go smoother than a folder of vague descriptions — adjusters have told the industry this for years, and it remains true.
What The Report Cannot Do
Honest limits matter. A detection report cannot prove exactly when a leak started — it can offer observations about whether the evidence looks sudden or long-standing, but the precise start date of a hidden leak is often unknowable. It cannot determine coverage; only your policy and adjuster do that. It cannot substitute for a repair estimate or a remediation plan. And it cannot help if the underlying cause is excluded — a report documenting a maintenance issue documents a maintenance issue.
Understanding these limits protects you from disappointment. The report is a tool for establishing facts, not a lever for forcing an outcome. Its value is in making the factual record clear, complete, and professional — which is exactly what a fair claims process needs.
After You Get The Report
- Submit the report with your claim along with your dated photos of the damage.
- Get the source repaired promptly — insurers expect mitigation, not delay.
- Dry the affected areas thoroughly; consider professional drying for anything beyond a minor incident.
- Keep every invoice: detection, repair, drying, and any temporary measures.
- Do not discard damaged materials until the adjuster has seen them or given permission.
- Follow up in writing so every conversation about the claim is documented.
Mitigation is a policyholder duty in most policies — once you know about the water, you are expected to act reasonably to limit further damage. The detection report actually helps here: it timestamps professional confirmation of the source, which supports that you acted promptly once the problem was identified.