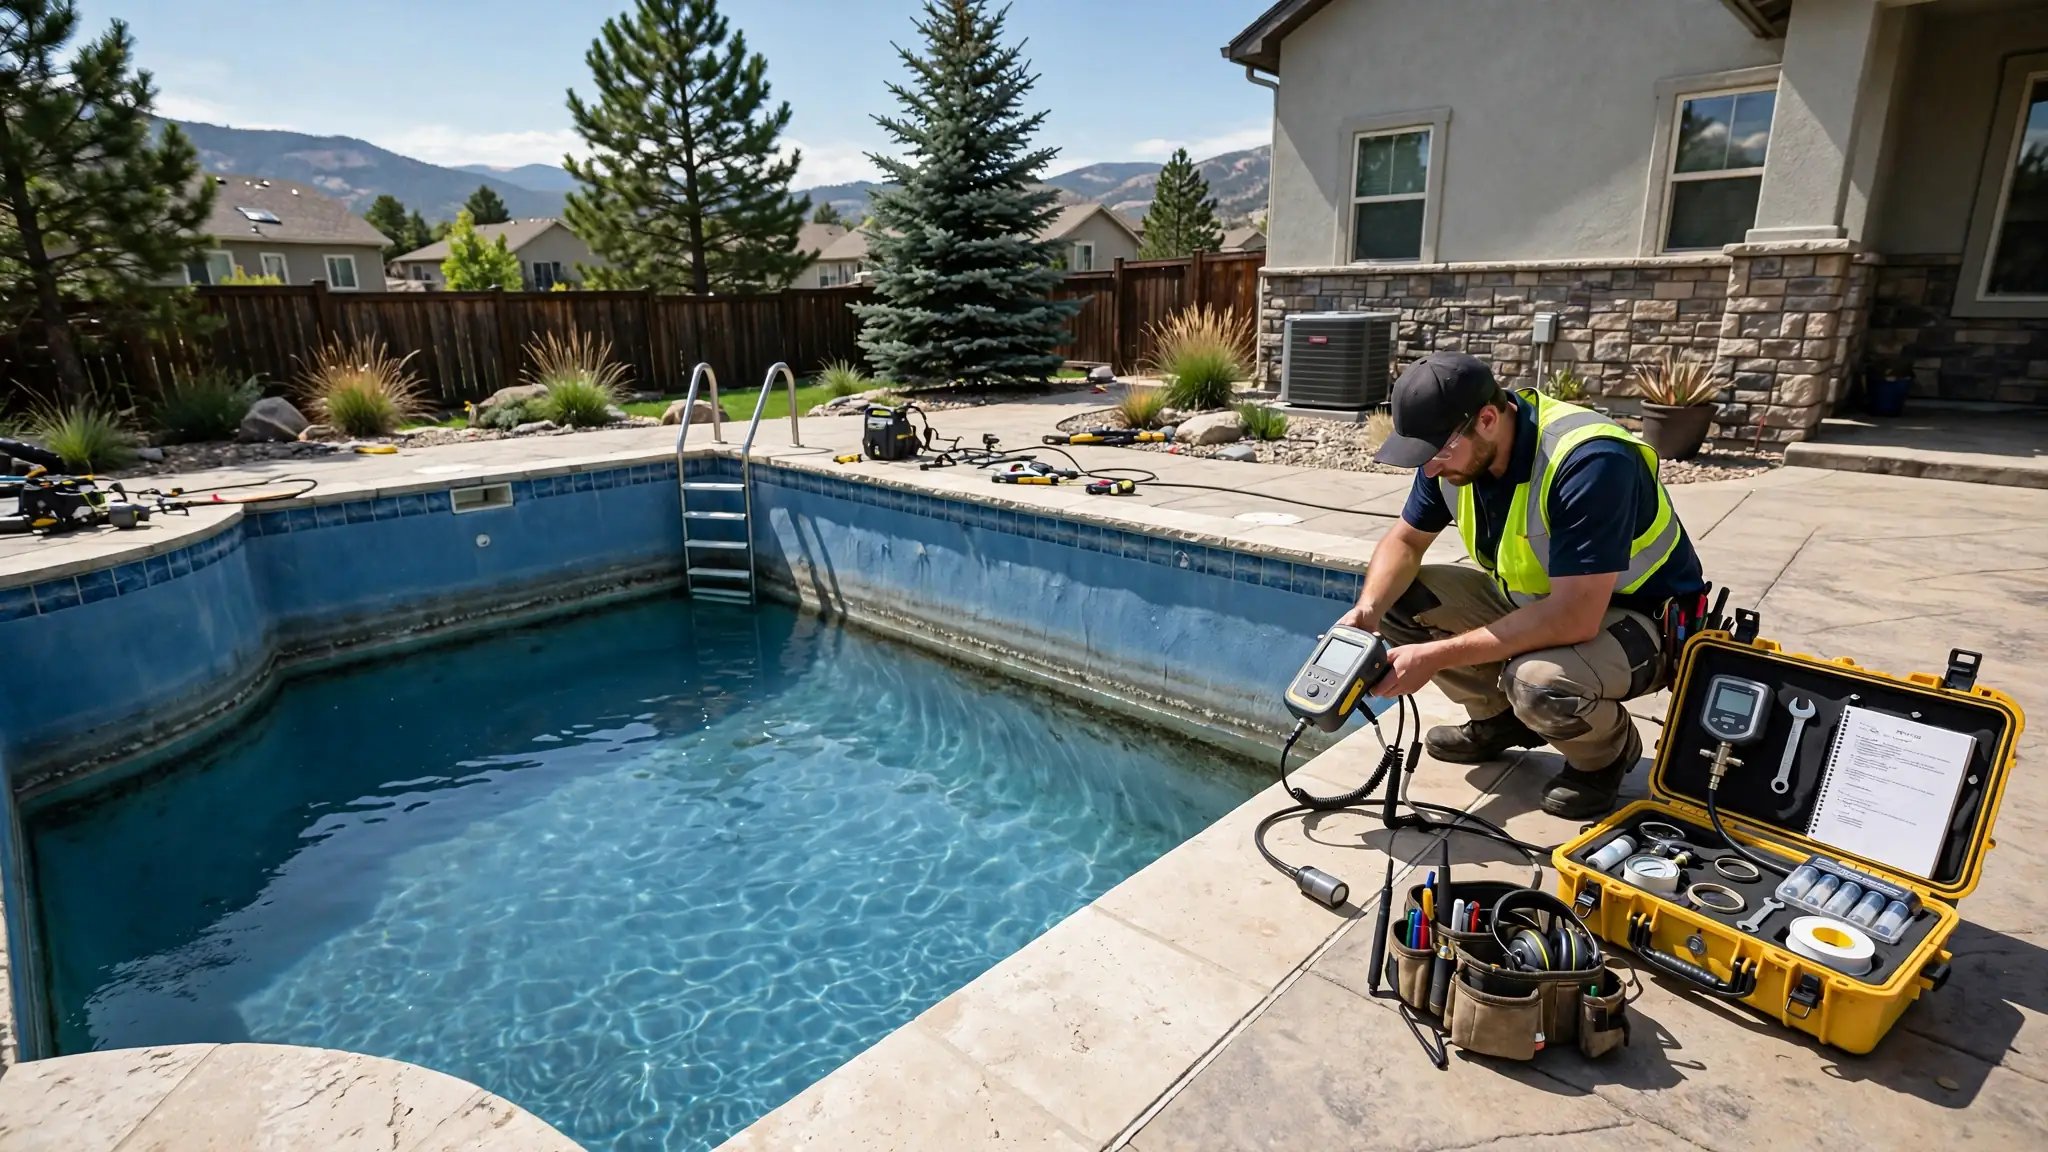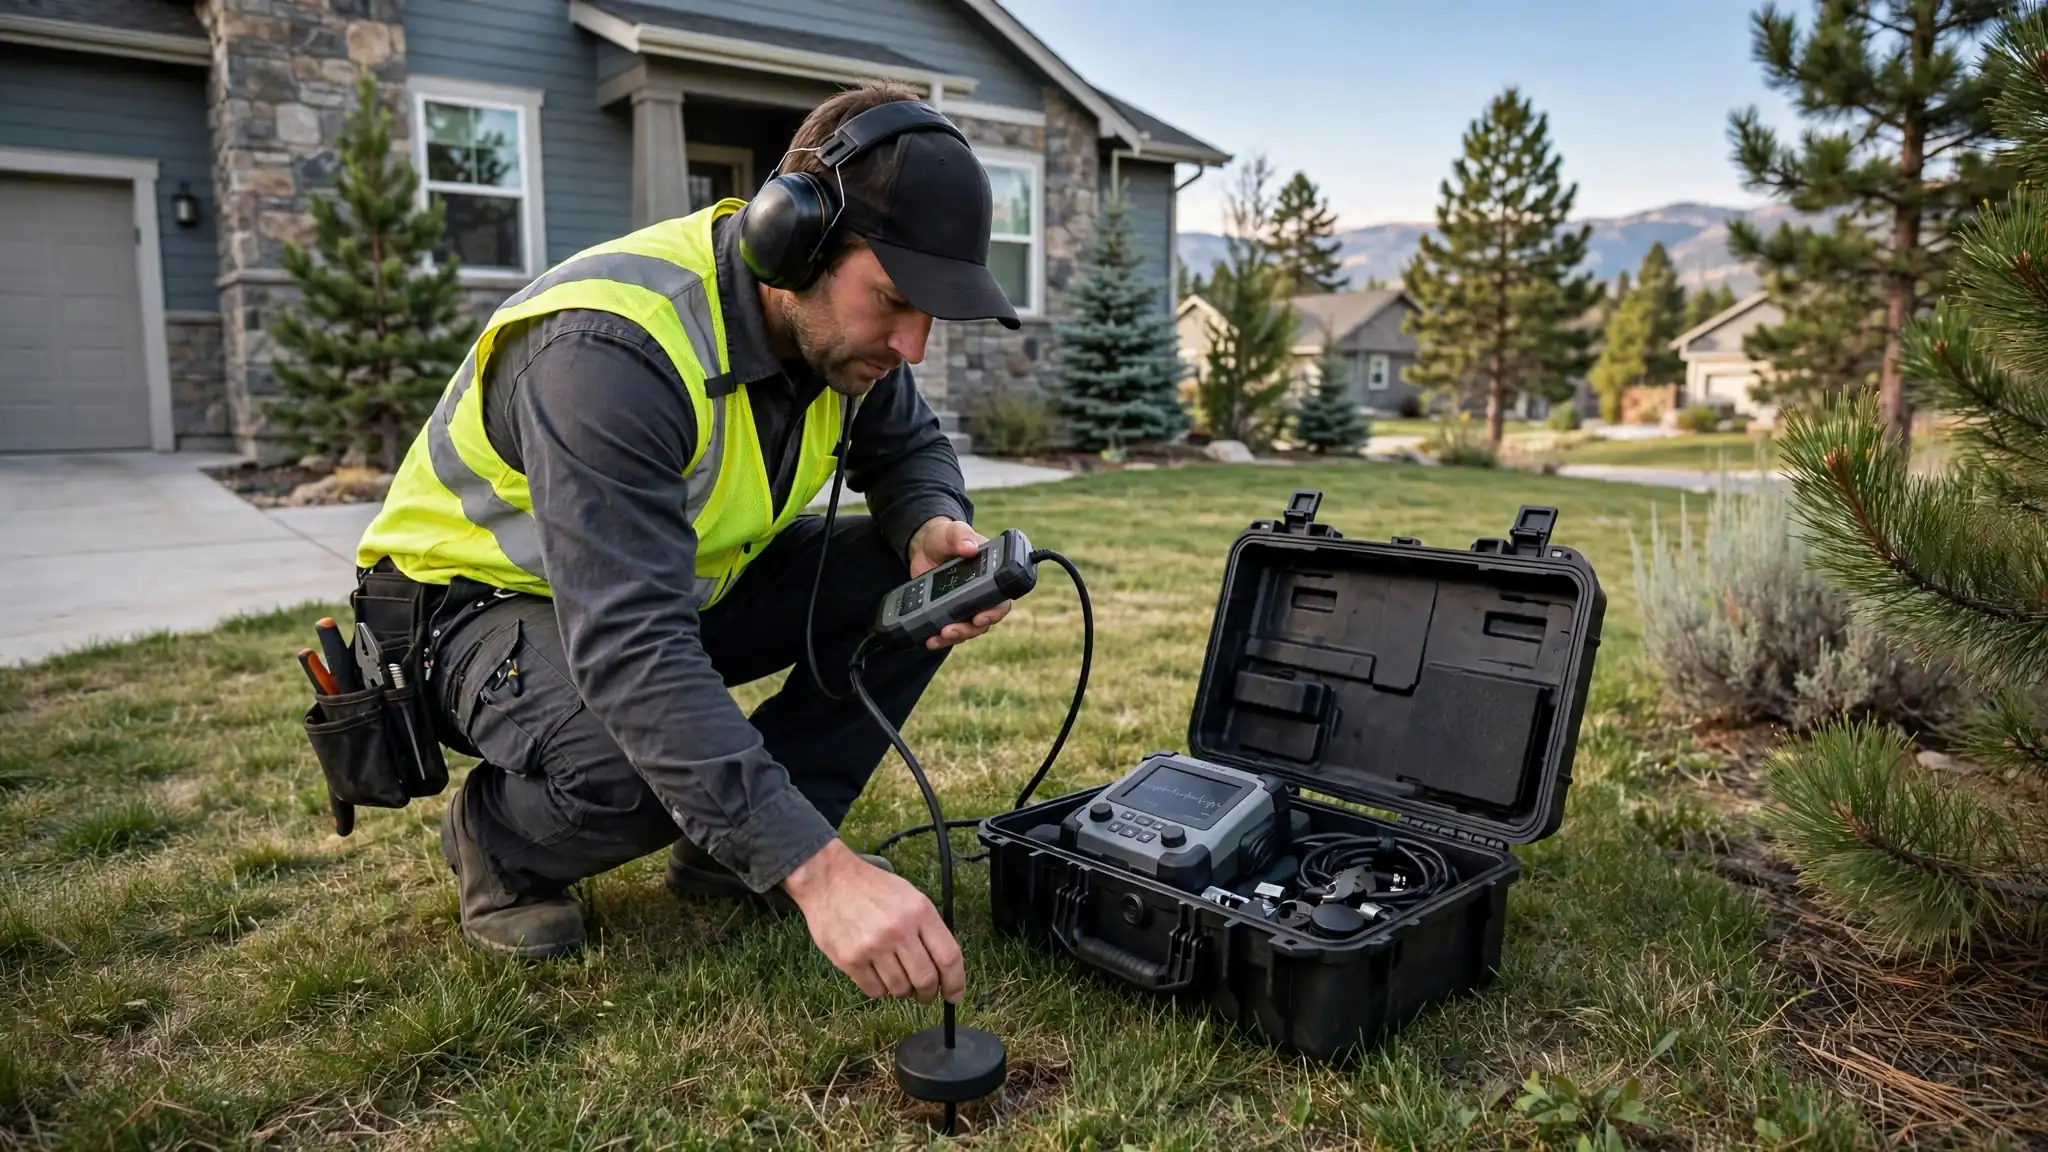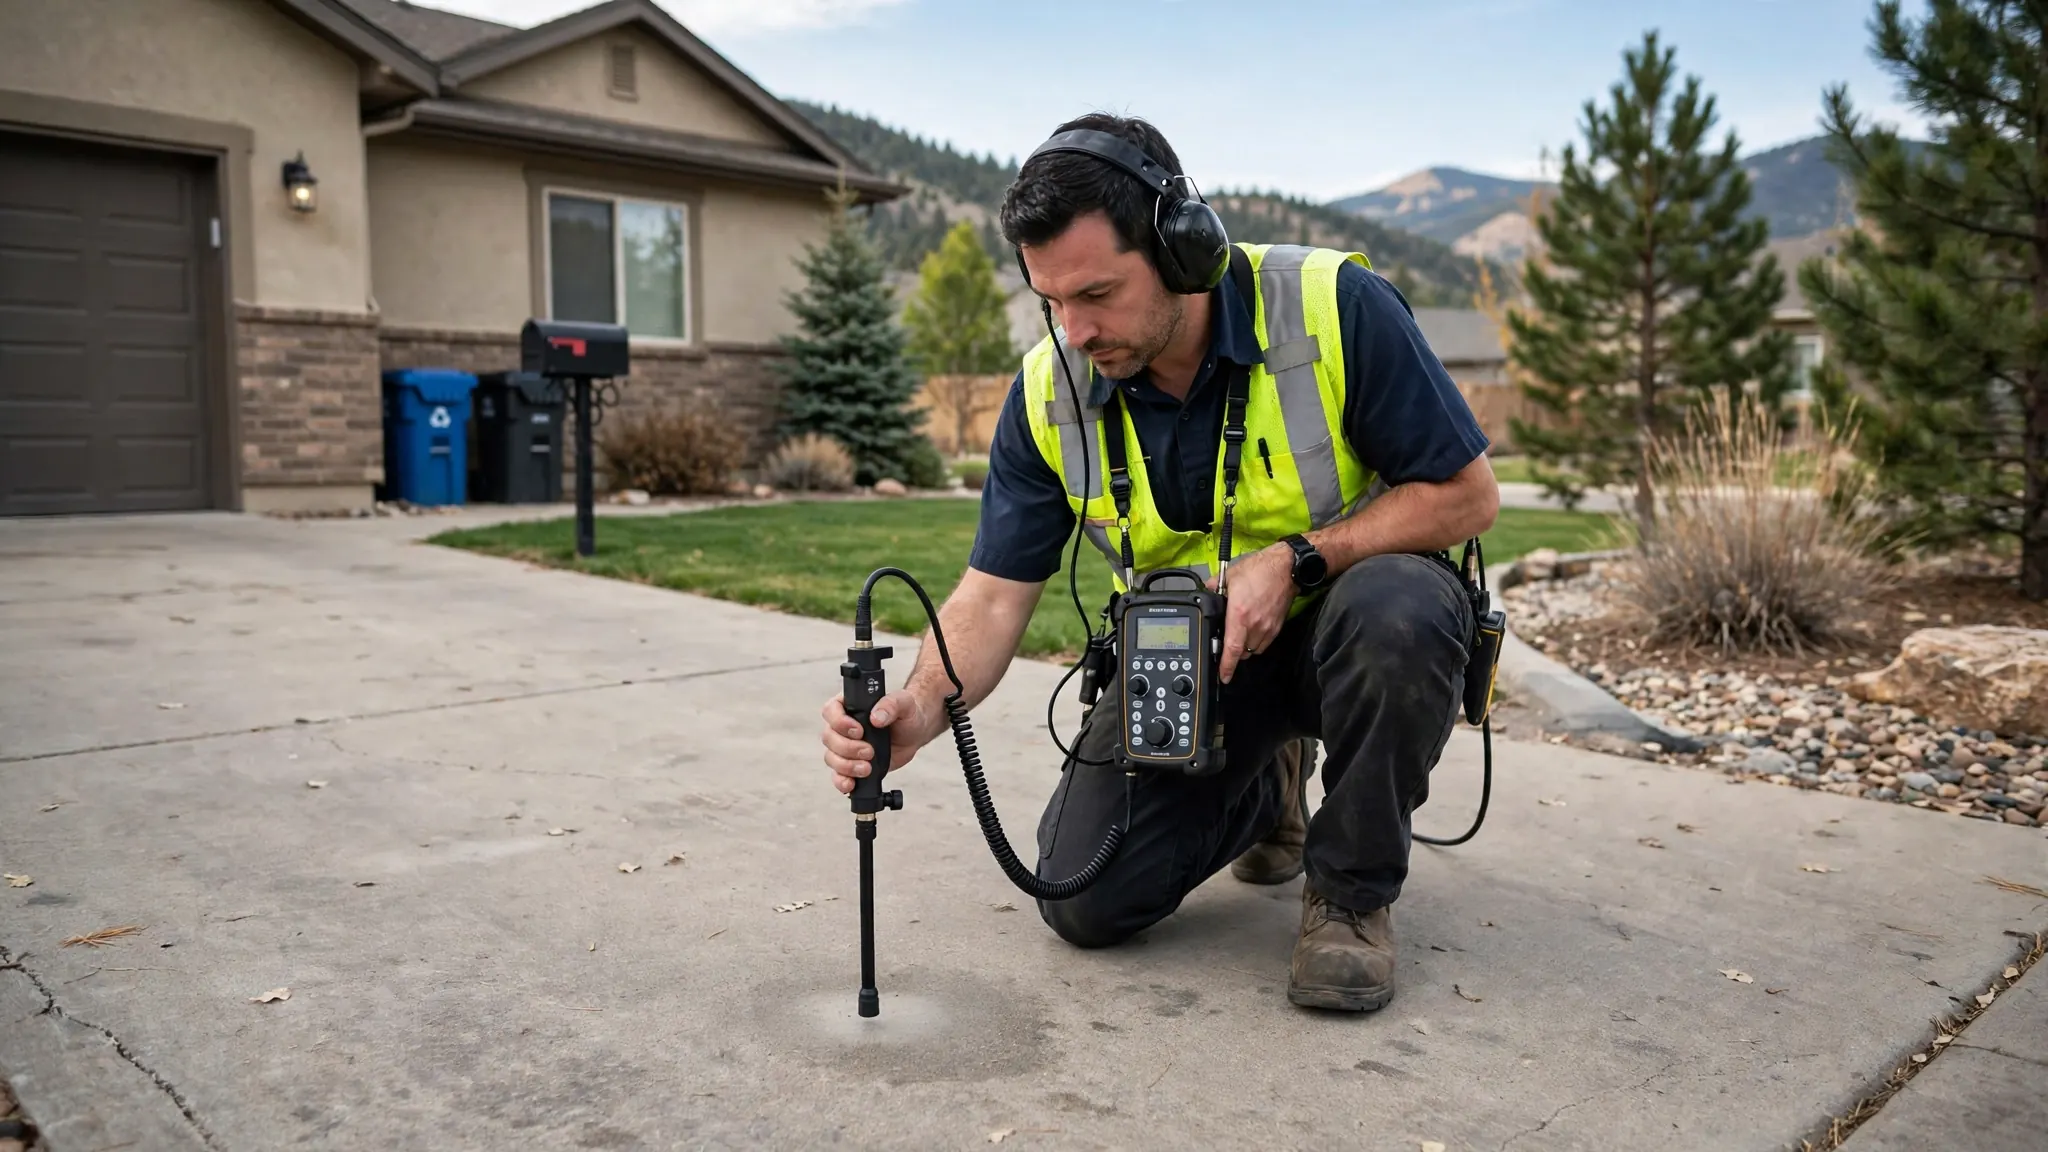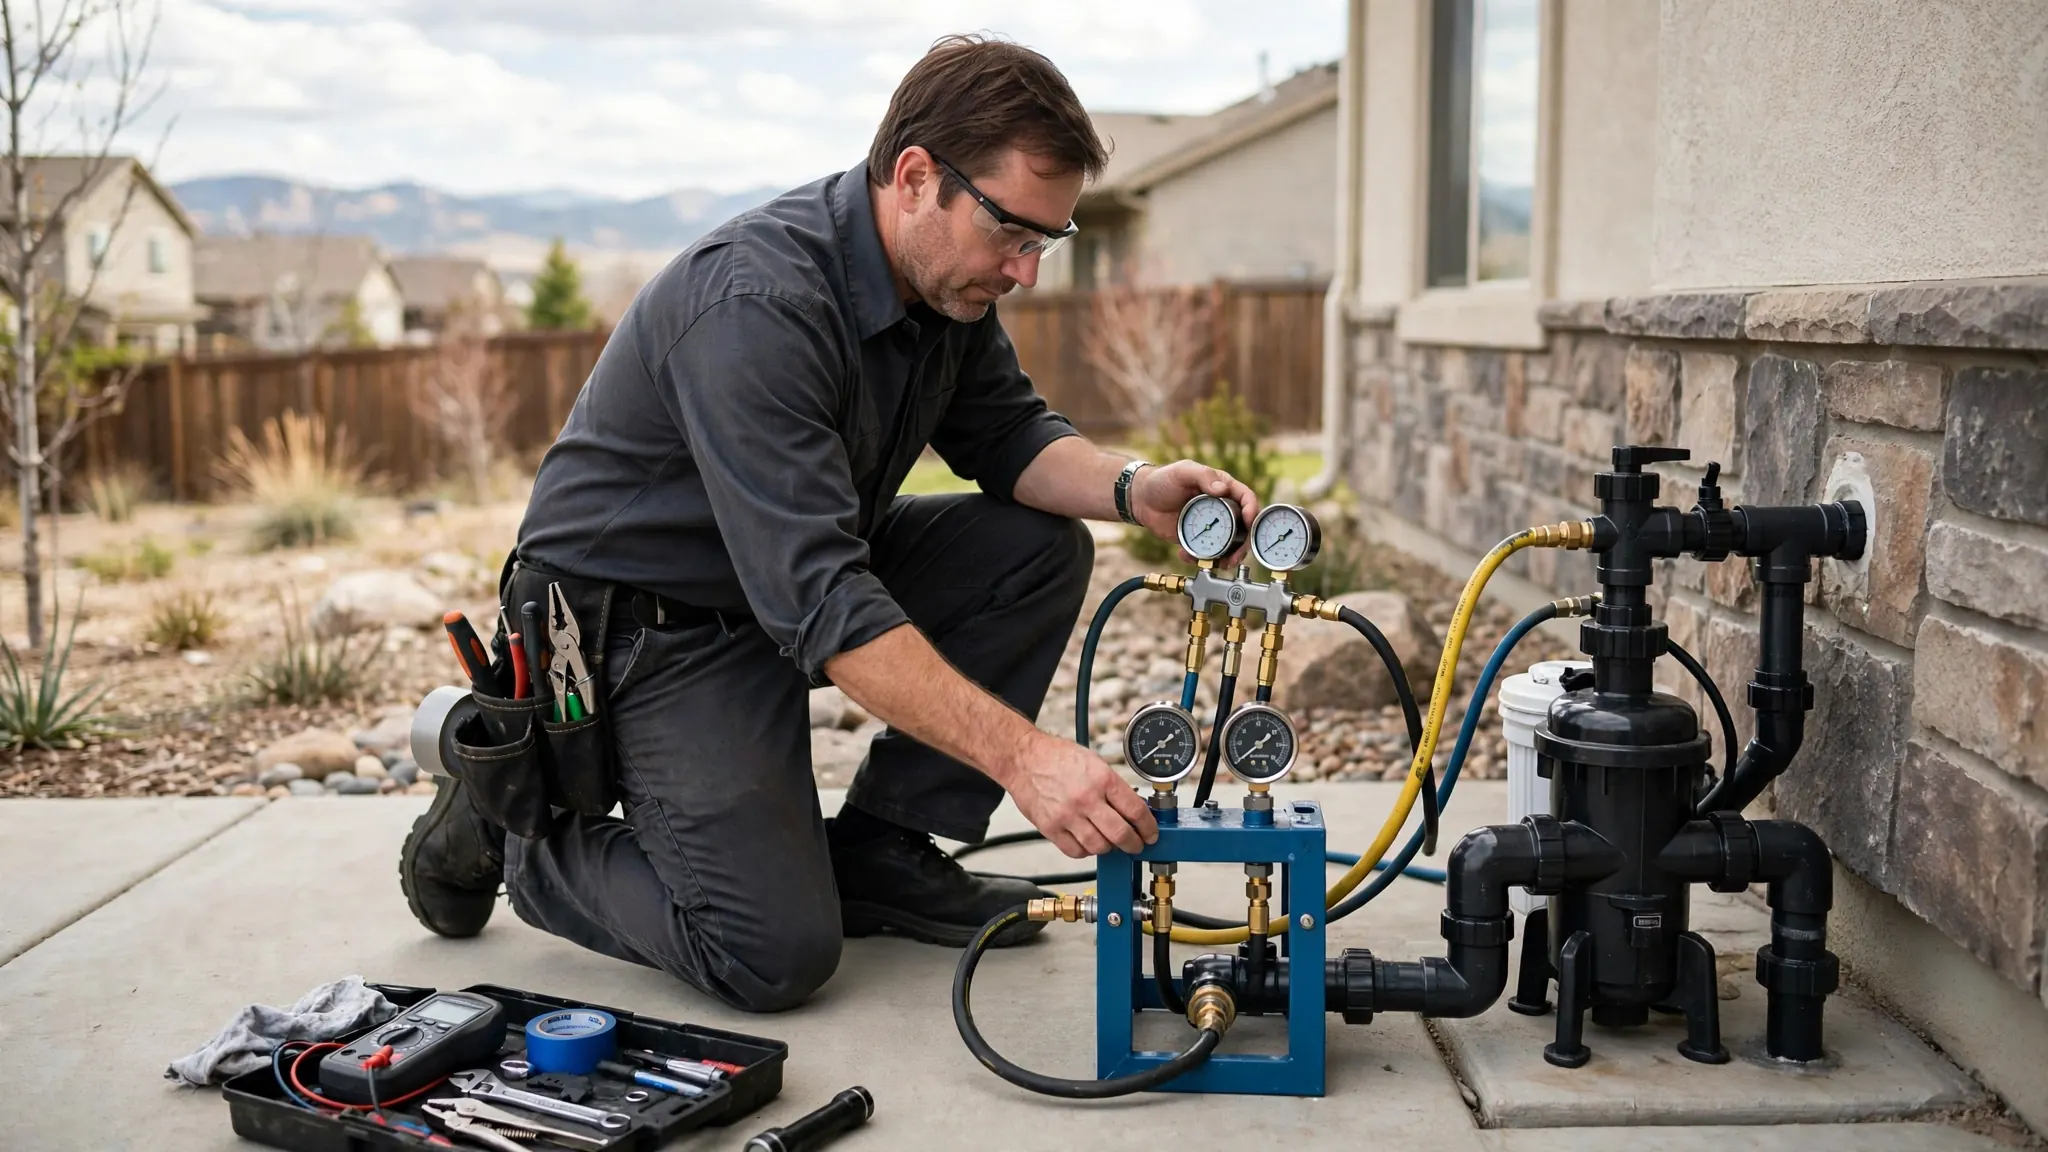
A hot tub that needs topping off constantly is either losing water normally or leaking — and the two look identical at first. Heat, jets, and an uncovered spa evaporate a surprising amount of water, especially in dry or windy weather. But a real leak does not stop, does not slow in humid weather, and often leaves clues around the equipment or the shell. Knowing how spa leaks are found starts with knowing where to look. This guide walks through the evaporation question, the common leak locations, simple tests you can do, and how professional detection works.
Evaporation Or A Real Leak
Evaporation is the baseline you measure against. A heated, uncovered spa with jets running can lose a noticeable amount of water in a day through evaporation and splash-out alone. Wind, low humidity, and high water temperature all increase it. A cover cuts evaporation dramatically — an uncovered spa in dry conditions is expected to drop faster than a covered one in humid weather. None of this means a leak; it means physics.
The bucket test separates the two. Place a bucket filled with spa water on a spa step so the water level inside the bucket matches the spa's water level, mark both, and leave the spa running normally for 24 hours with the cover off. If the spa and the bucket drop by the same amount, that is evaporation. If the spa drops noticeably more than the bucket, water is leaving through a leak. This simple test, borrowed from pool leak diagnosis, is the most reliable DIY check available.
Where Spas Actually Leak
Spa leaks fall into two territories: the equipment side and the shell side. The equipment side — pump, heater, filter housing, and the web of PVC plumbing packed into the equipment bay — is where most leaks live. Unions and threaded connections loosen with heat cycling and vibration, pump seals wear, and heater manifolds develop cracks. These leaks often show themselves as water in the equipment compartment or dripping beneath the spa cabinet.
- Pump seals and unions loosened by heat cycling and vibration
- Heater manifold cracks from thermal stress or freeze damage
- Filter housing o-rings and threaded fittings that have aged out
- Jet bodies and gaskets where jets penetrate the shell
- Cracked PVC plumbing in the equipment bay, especially at glued joints
- Shell cracks from impact, ground movement, or age
- Deteriorated gaskets around lights, skimmers, and suction fittings
Shell-side leaks are less common but harder to reach. A cracked shell or failed jet gasket leaks water into the insulation and cabinet interior, where it may travel before appearing. Foam-insulated spas complicate this further — the foam hides the leak path and has to be removed to find the source. Knowing which side the leak is on determines the entire repair approach, which is why diagnosis comes before any fix.
Simple Checks Before Calling
- Run the bucket test for 24 hours to confirm you have a real leak, not evaporation.
- Inspect the equipment bay with a flashlight — look for drips, mineral crust, and damp insulation.
- Check around each jet inside the spa for water seeping from behind the fitting.
- Look under and around the cabinet for wet soil, mineral stains, or soft ground.
- Note when the leaking is worst — with jets on, heater on, or all the time — and tell the technician.
- Check whether the water level stabilizes at a certain point, which can indicate the leak's height.
The stabilization clue is underused. If the water level drops to the height of a particular jet or fitting and then stops, the leak is at or near that level. If it keeps dropping past every fitting, the leak is lower — in the shell bottom or the underground plumbing. Write down what you observe; it shortens the diagnostic visit considerably.
Spas combine water and high-voltage equipment in a small space. If the equipment bay is flooded or water is near the control panel, heater, or wiring, turn off the breaker to the spa and keep clear. Electrical hazards around spas are not a DIY situation — this is one case where a leak becomes urgent.
How Professionals Find Spa Leaks
Professional spa leak detection is systematic. The technician confirms the leak with the bucket test or dye testing, then works through the system zone by zone. Dye testing is remarkably effective: with the pumps off, dye is released near suspected fittings, and the leak's suction pulls the dye toward it, visibly marking the spot. On the equipment side, pressure testing individual plumbing runs shows which line loses pressure.
| Method | What It Finds | Used When |
|---|---|---|
| Bucket test | Confirms a real leak vs evaporation | Always — the starting point |
| Visual equipment inspection | Drips, crust, and failed seals in the bay | Equipment-side symptoms |
| Dye testing | Exact suction-side leak points at fittings | Shell fittings, jets, skimmers |
| Pressure testing | Which plumbing run loses pressure | Underground or hidden lines |
| Acoustic listening | Pressurized leak sounds in lines | Buried spa plumbing runs |
For a deeper look at the listening technology, our guide to how acoustic leak detection works explains the principles. Buried runs between the spa and a remote equipment pad are diagnosed with the same underground water line methods used for service lines. The key point for spa owners: detection is non-destructive. The goal is to identify the exact failed component so the repair opens up one area, not the whole spa.
Equipment-Side Vs Shell-Side: Why It Matters
Equipment-side leaks are generally the better news. The components are accessible, the parts are standard, and the repair is usually a matter of replacing a seal, union, or section of pipe. Many equipment-bay leaks are found and fixed in a single visit once diagnosed. Shell-side leaks — cracks, failed jet gaskets, light niches — require draining the spa and working on the shell itself, which takes longer and costs more.
Foam insulation changes the equation. Full-foam spas hide everything, so finding a shell-side leak means removing foam to expose the plumbing, then replacing the insulation afterward. Partial-foam or uninsulated spas are far easier to diagnose. If you are buying a spa, this is worth knowing: the insulation that saves energy also hides leaks. Neither design is wrong, but the diagnostic path differs.
Preventing Spa Leaks
- Keep the water chemistry balanced — aggressive water corrodes seals, gaskets, and metal components
- Do not overtighten unions and fittings; hand-tight plus a quarter turn is usually enough
- Winterize properly or keep the spa running through cold snaps — see how to prevent frozen pipes in Broomfield — since freeze damage cracks manifolds and pipes
- Inspect the equipment bay a few times a year for drips, crust, and damp spots
- Replace aging o-rings and gaskets proactively during routine maintenance
- Keep the cover in good condition to reduce evaporation confusion and heat loss
- Maintain proper water level — low water strains the pump and can overheat the heater
Chemistry deserves emphasis because it is the slow killer. Water that is chronically too acidic eats at seals and metal parts from the inside; water with wildly swinging sanitizer levels ages gaskets prematurely. Balanced water does not just feel better — it extends the life of every wetted component in the system.
When A Spa Leak Is Urgent
Most spa leaks are not emergencies — they are steady water losers that can wait for a scheduled visit. The exceptions are electrical: a flooded equipment bay, water near the control panel or wiring, or a tripping breaker combined with moisture. In those cases, kill the breaker and call immediately through our emergency spa service. A spa that is losing water fast enough to expose the heater or skimmer also needs prompt attention to prevent equipment damage.
For non-urgent leaks, document what you found — bucket test results, where you see moisture, when it is worst — and schedule detection. We answer 24/7 across Broomfield, so even a scheduled visit is easy to arrange. The sooner the source is found, the smaller the water bill and the simpler the repair.