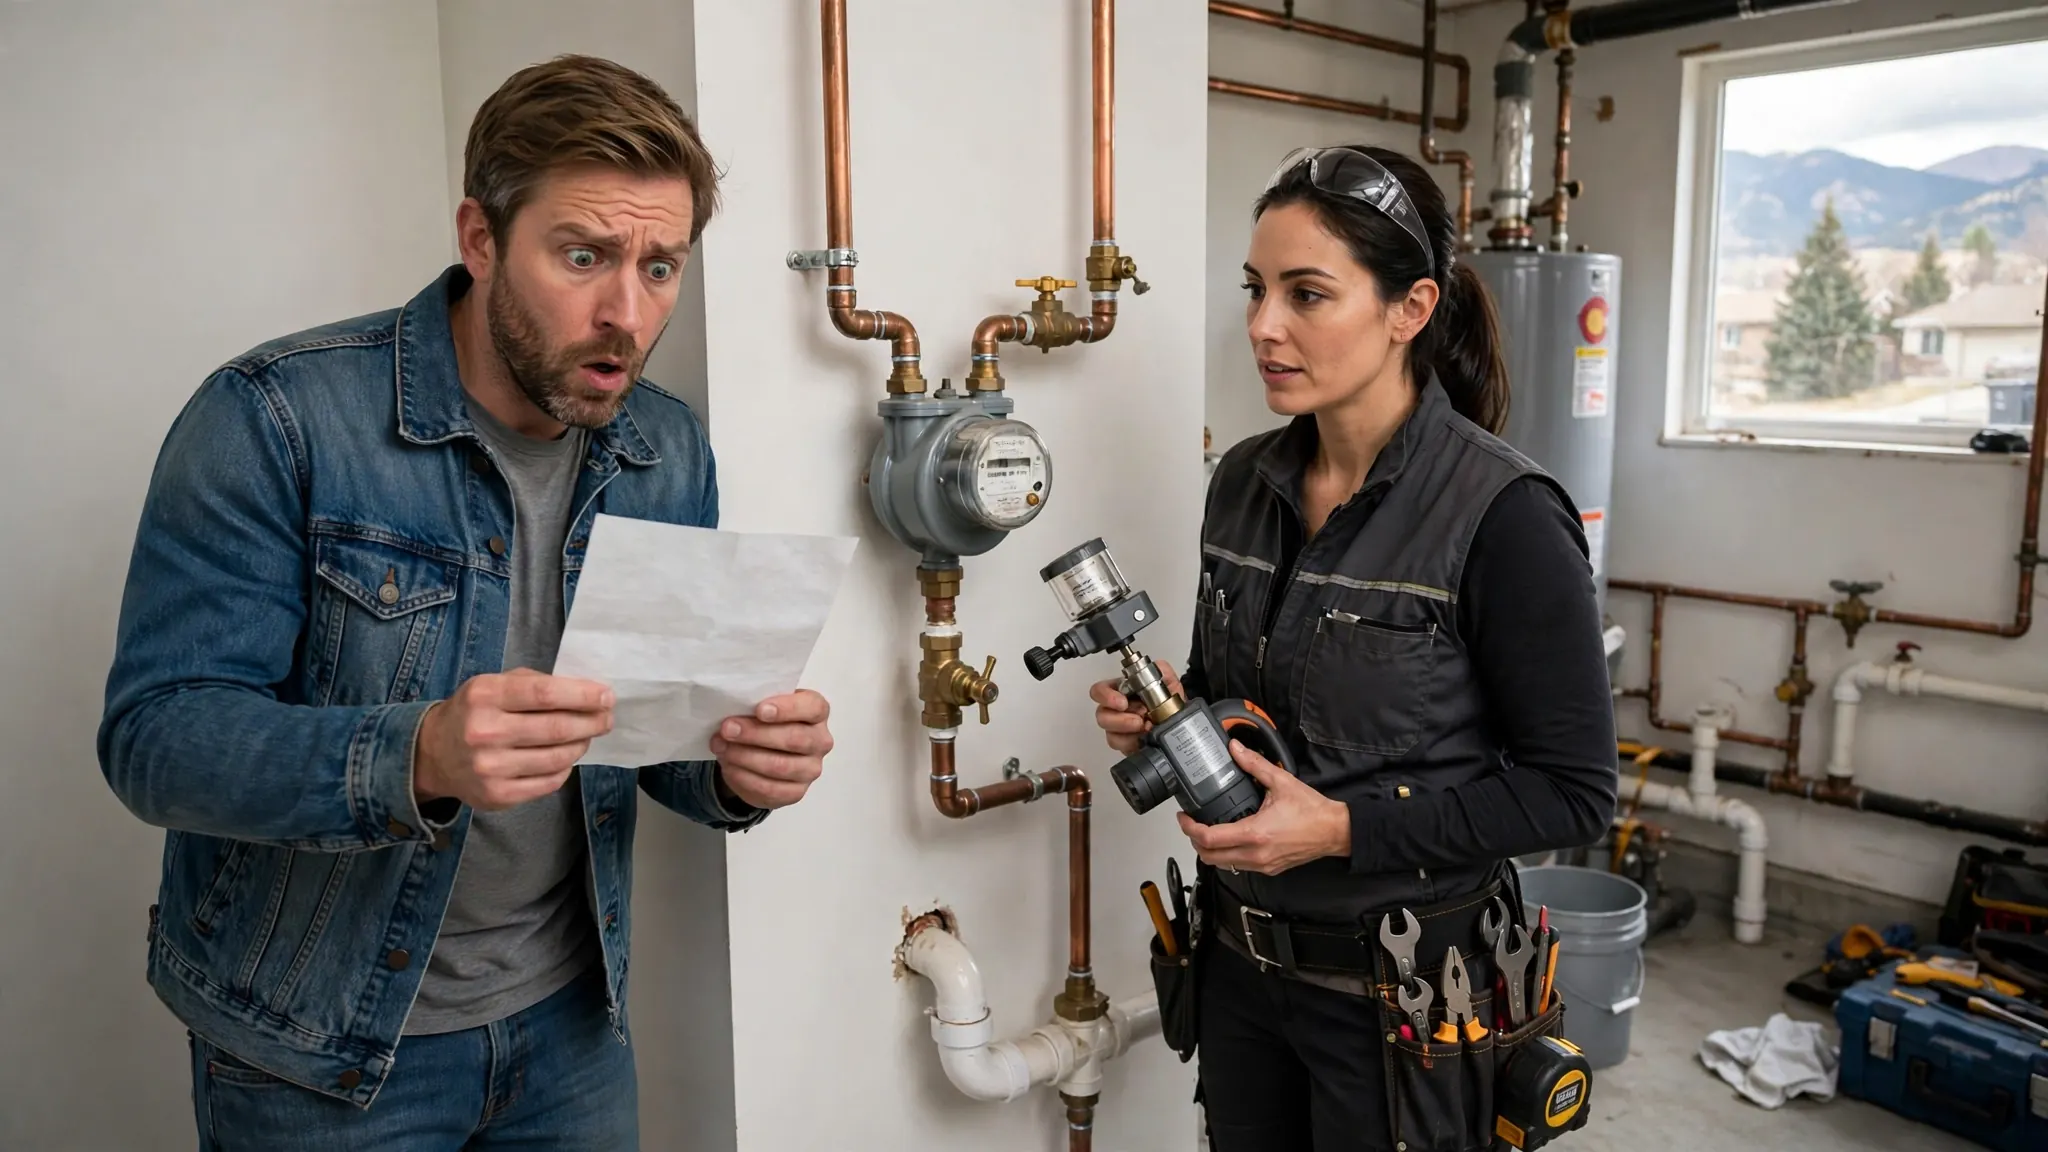
Reading your water meter to check for leaks takes about five minutes and requires no tools. The principle is straightforward: with every faucet, appliance, and fixture in the house turned off, the meter should sit perfectly still. If it moves, water is flowing somewhere — and if nothing is intentionally using water, that flow is a leak. This test cannot tell you where the leak is, but it answers the most important question first: is there one? A spinning meter with no water running is one of the clearest early warnings of a hidden leak, and it is the reason professionals start many leak detection visits with this exact check.
Finding Your Water Meter
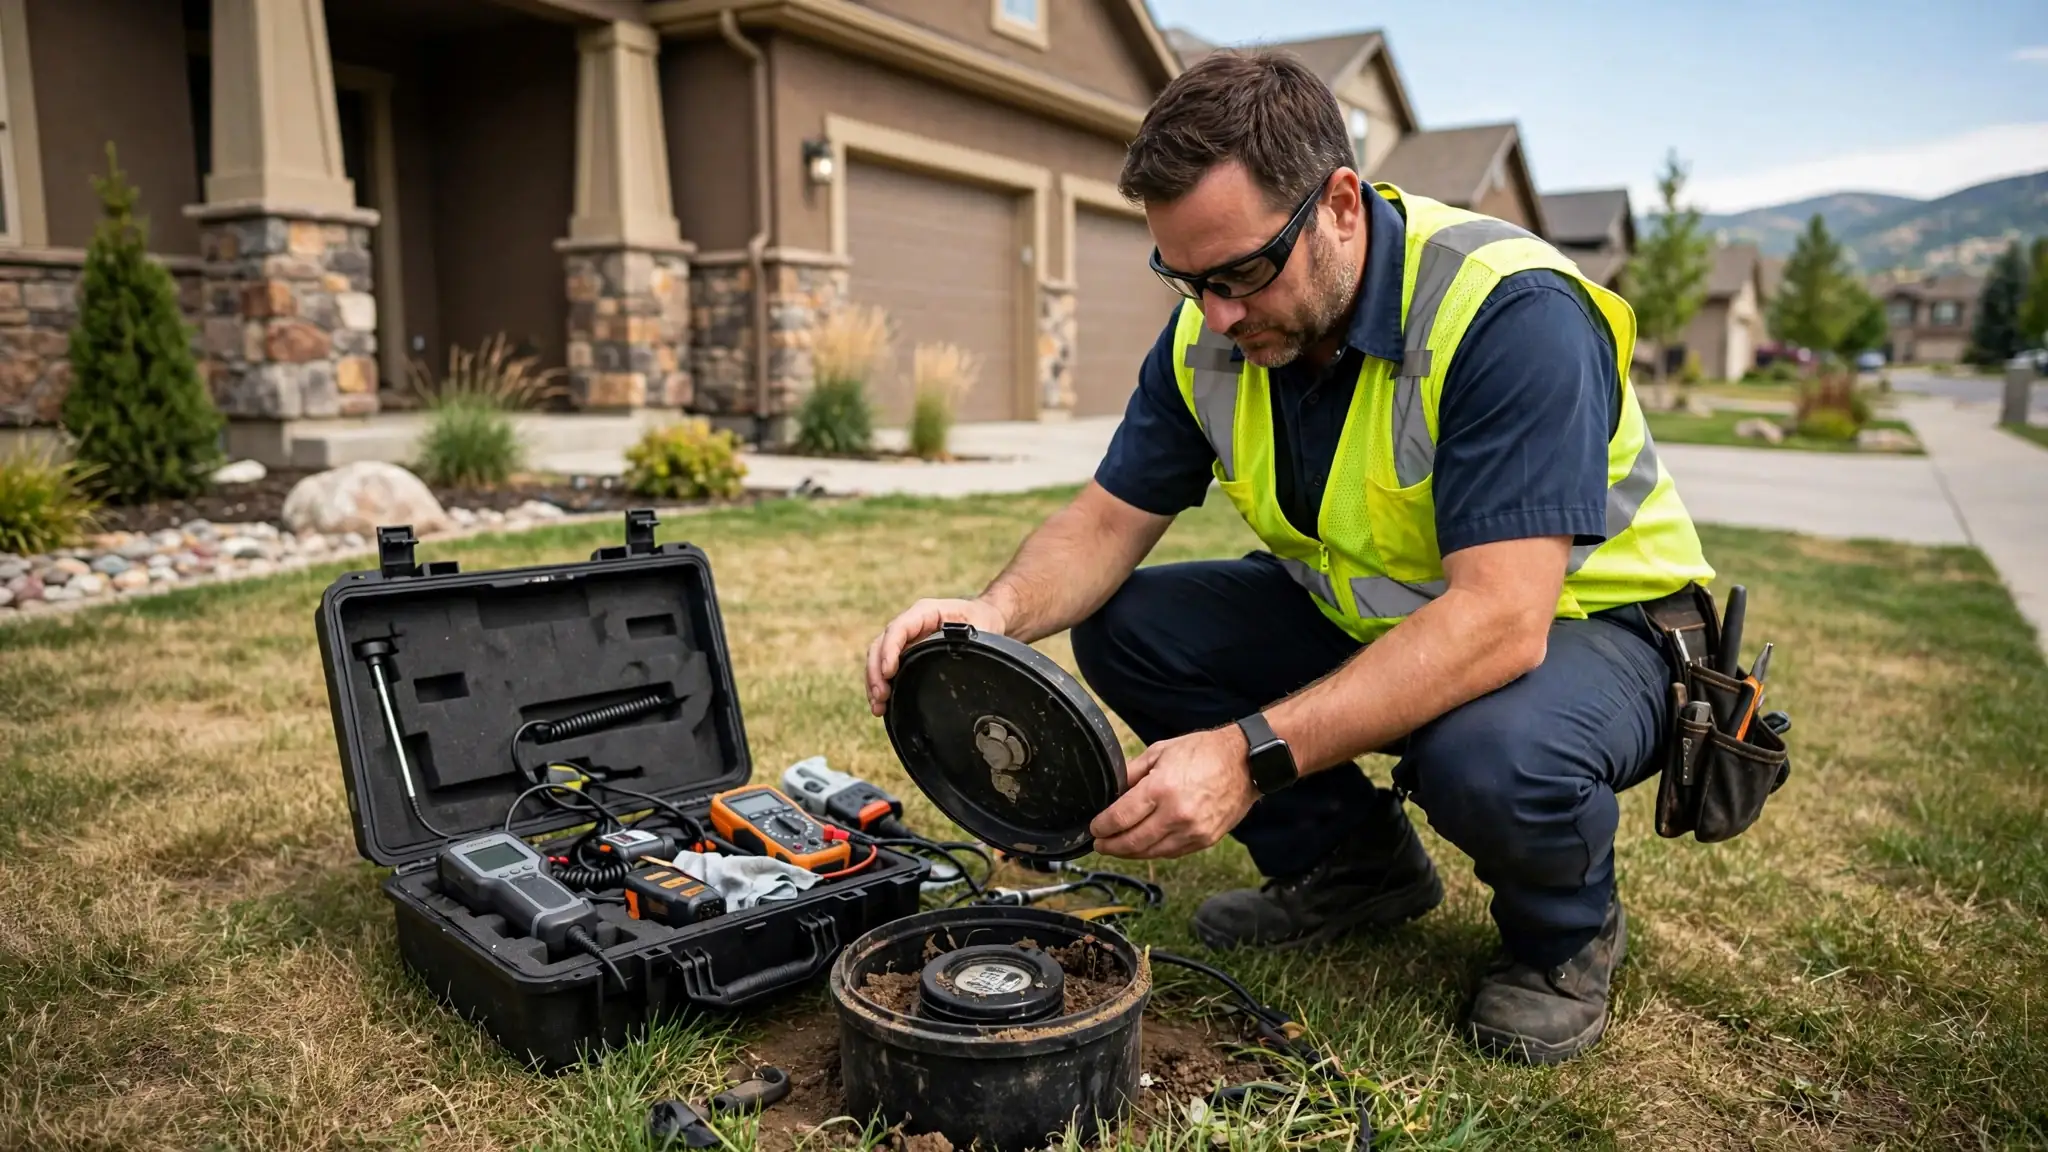
Most residential water meters sit in a meter box near the street or sidewalk, usually at the front of the property close to the property line. The box is typically a rectangular metal or plastic lid flush with the ground, sometimes marked with the word water. In colder climates, some meters are indoors — in a basement, crawl space, or utility room where the service line enters the house.
Open the lid carefully: meter boxes can house insects, and the lid may be heavy. Inside you will find the meter itself, sometimes with a protective cover over the dial. Wipe the dial face clean so you can read it. Note the main shut-off valve nearby — knowing its location is useful for the isolation step later in this guide.
Understanding What The Dial Shows
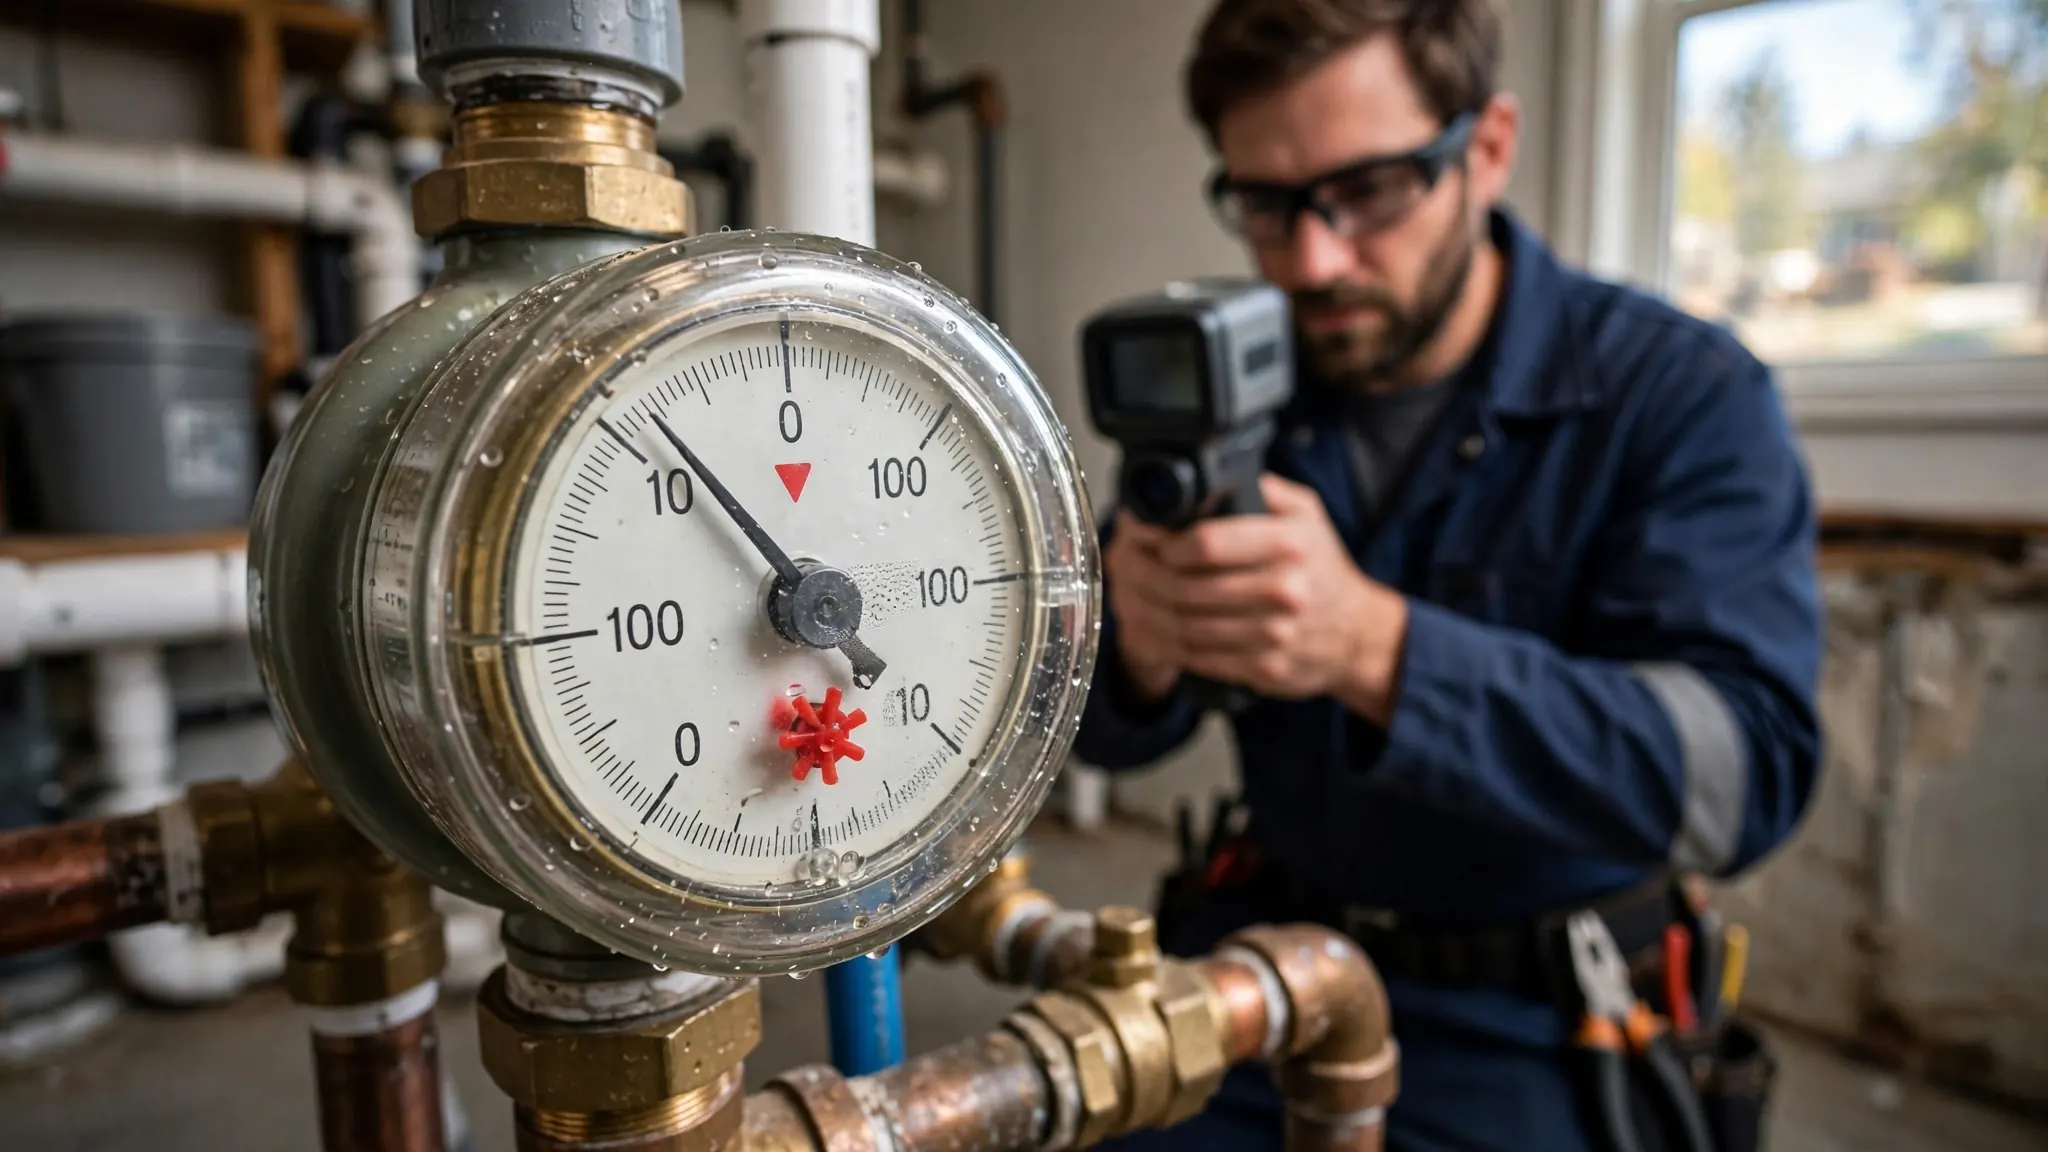
Water meters display usage in cubic feet or gallons, depending on the utility, and most have three features that matter for leak checking.
- The odometer-style numbers: your total cumulative usage, like a car's odometer. Write this number down at the start of your test.
- The sweep hand or digital flow rate: shows current flow. On analog meters, a full rotation of the large hand equals a set volume (often one cubic foot or ten gallons).
- The leak indicator: a small triangle, star, or gear that rotates with even tiny flows. This is your most sensitive tool — it moves when the main dial barely registers anything.
The leak indicator is the star of the show for leak checking. Because it responds to very small flows, a slowly turning triangle reveals leaks too small to move the main sweep hand noticeably. Learn what yours looks like before you need it.
The No-Water-Running Test, Step By Step
This is the definitive at-home leak test. Follow it exactly — the most common mistake is forgetting a silent water user.
- Turn off everything that uses water: faucets, showers, dishwasher, washing machine, and any water-using appliances. Make sure toilets have finished filling and are not running.
- Check that irrigation systems and hose bibs are off. An irrigation controller on a schedule can start a zone mid-test and ruin your results.
- Go to the meter and record the odometer reading, or simply watch the leak indicator and sweep hand.
- Observe for five to ten minutes. The meter should not move at all — not the sweep hand, and not the leak indicator triangle.
- If anything moves, water is flowing. Recheck that nothing in the house is using water, then repeat the test to confirm.
- For a longer confirmation, record the odometer number, avoid all water use for two hours, and read it again. Any change means water went somewhere.
The best time for this test is when nobody needs water for a while — early morning before the household wakes, or during a workday when the house is empty. Fewer chances of accidental water use means cleaner results.
Isolating Indoor Vs. Outdoor Leaks
Once the test confirms water is flowing, the next question is where. A simple isolation test narrows it to inside or outside the house.
- Find the main shut-off valve where the water line enters the house.
- Close that valve completely, then check the meter again.
- If the meter stops moving, the leak is inside the house — in the plumbing, a fixture, or under the slab.
- If the meter keeps moving with the house valve closed, the leak is between the meter and the house — the water service line or the meter box area itself.
This single test saves enormous diagnostic time. An indoor result points toward fixtures, toilets, water heaters, and hidden supply lines; an outdoor result points toward the buried service line. Either way, you now know which half of the system to investigate.
Common Culprits When The Meter Moves
Not every moving meter means a burst pipe. Work through the usual suspects before assuming the worst.
- Running toilets: the single most common cause of a slowly moving meter. A worn flapper lets tank water leak into the bowl silently, and the fill valve keeps replacing it.
- Dripping faucets and hose bibs: small drips add up and will turn the leak indicator.
- Water softeners and filtration systems: regeneration cycles use water on a schedule — check whether one ran during your test.
- Ice makers and humidifiers: these draw water automatically and are easy to forget.
- Irrigation leaks: a cracked lateral or stuck valve can flow continuously underground with no surface evidence.
- Slab or wall leaks: if everything above is ruled out, a hidden pressurized leak is the remaining explanation — and the one that needs professional leak detection.
What To Do With Your Results
If the meter sits still, your system is holding — recheck periodically, especially if your water bill suddenly climbs. A clean test today does not guarantee a clean test next season.
If the meter moves and you have ruled out fixtures and appliances, you have confirmed a hidden leak. The isolation test tells you whether it is indoor or outdoor. For indoor leaks, listen for running water, check toilets with dye tablets, and look for damp spots. For outdoor leaks, walk the service line route for soggy ground.
When the leak stays hidden after these checks, professional detection takes over: acoustic listening finds pressurized leaks by sound, thermal imaging maps their spread, and pressure testing confirms which line is failing. The meter test you just performed is exactly the evidence a professional wants to hear about — it tells them the search is justified.